Upgrading the graphics card in an Alienware X51
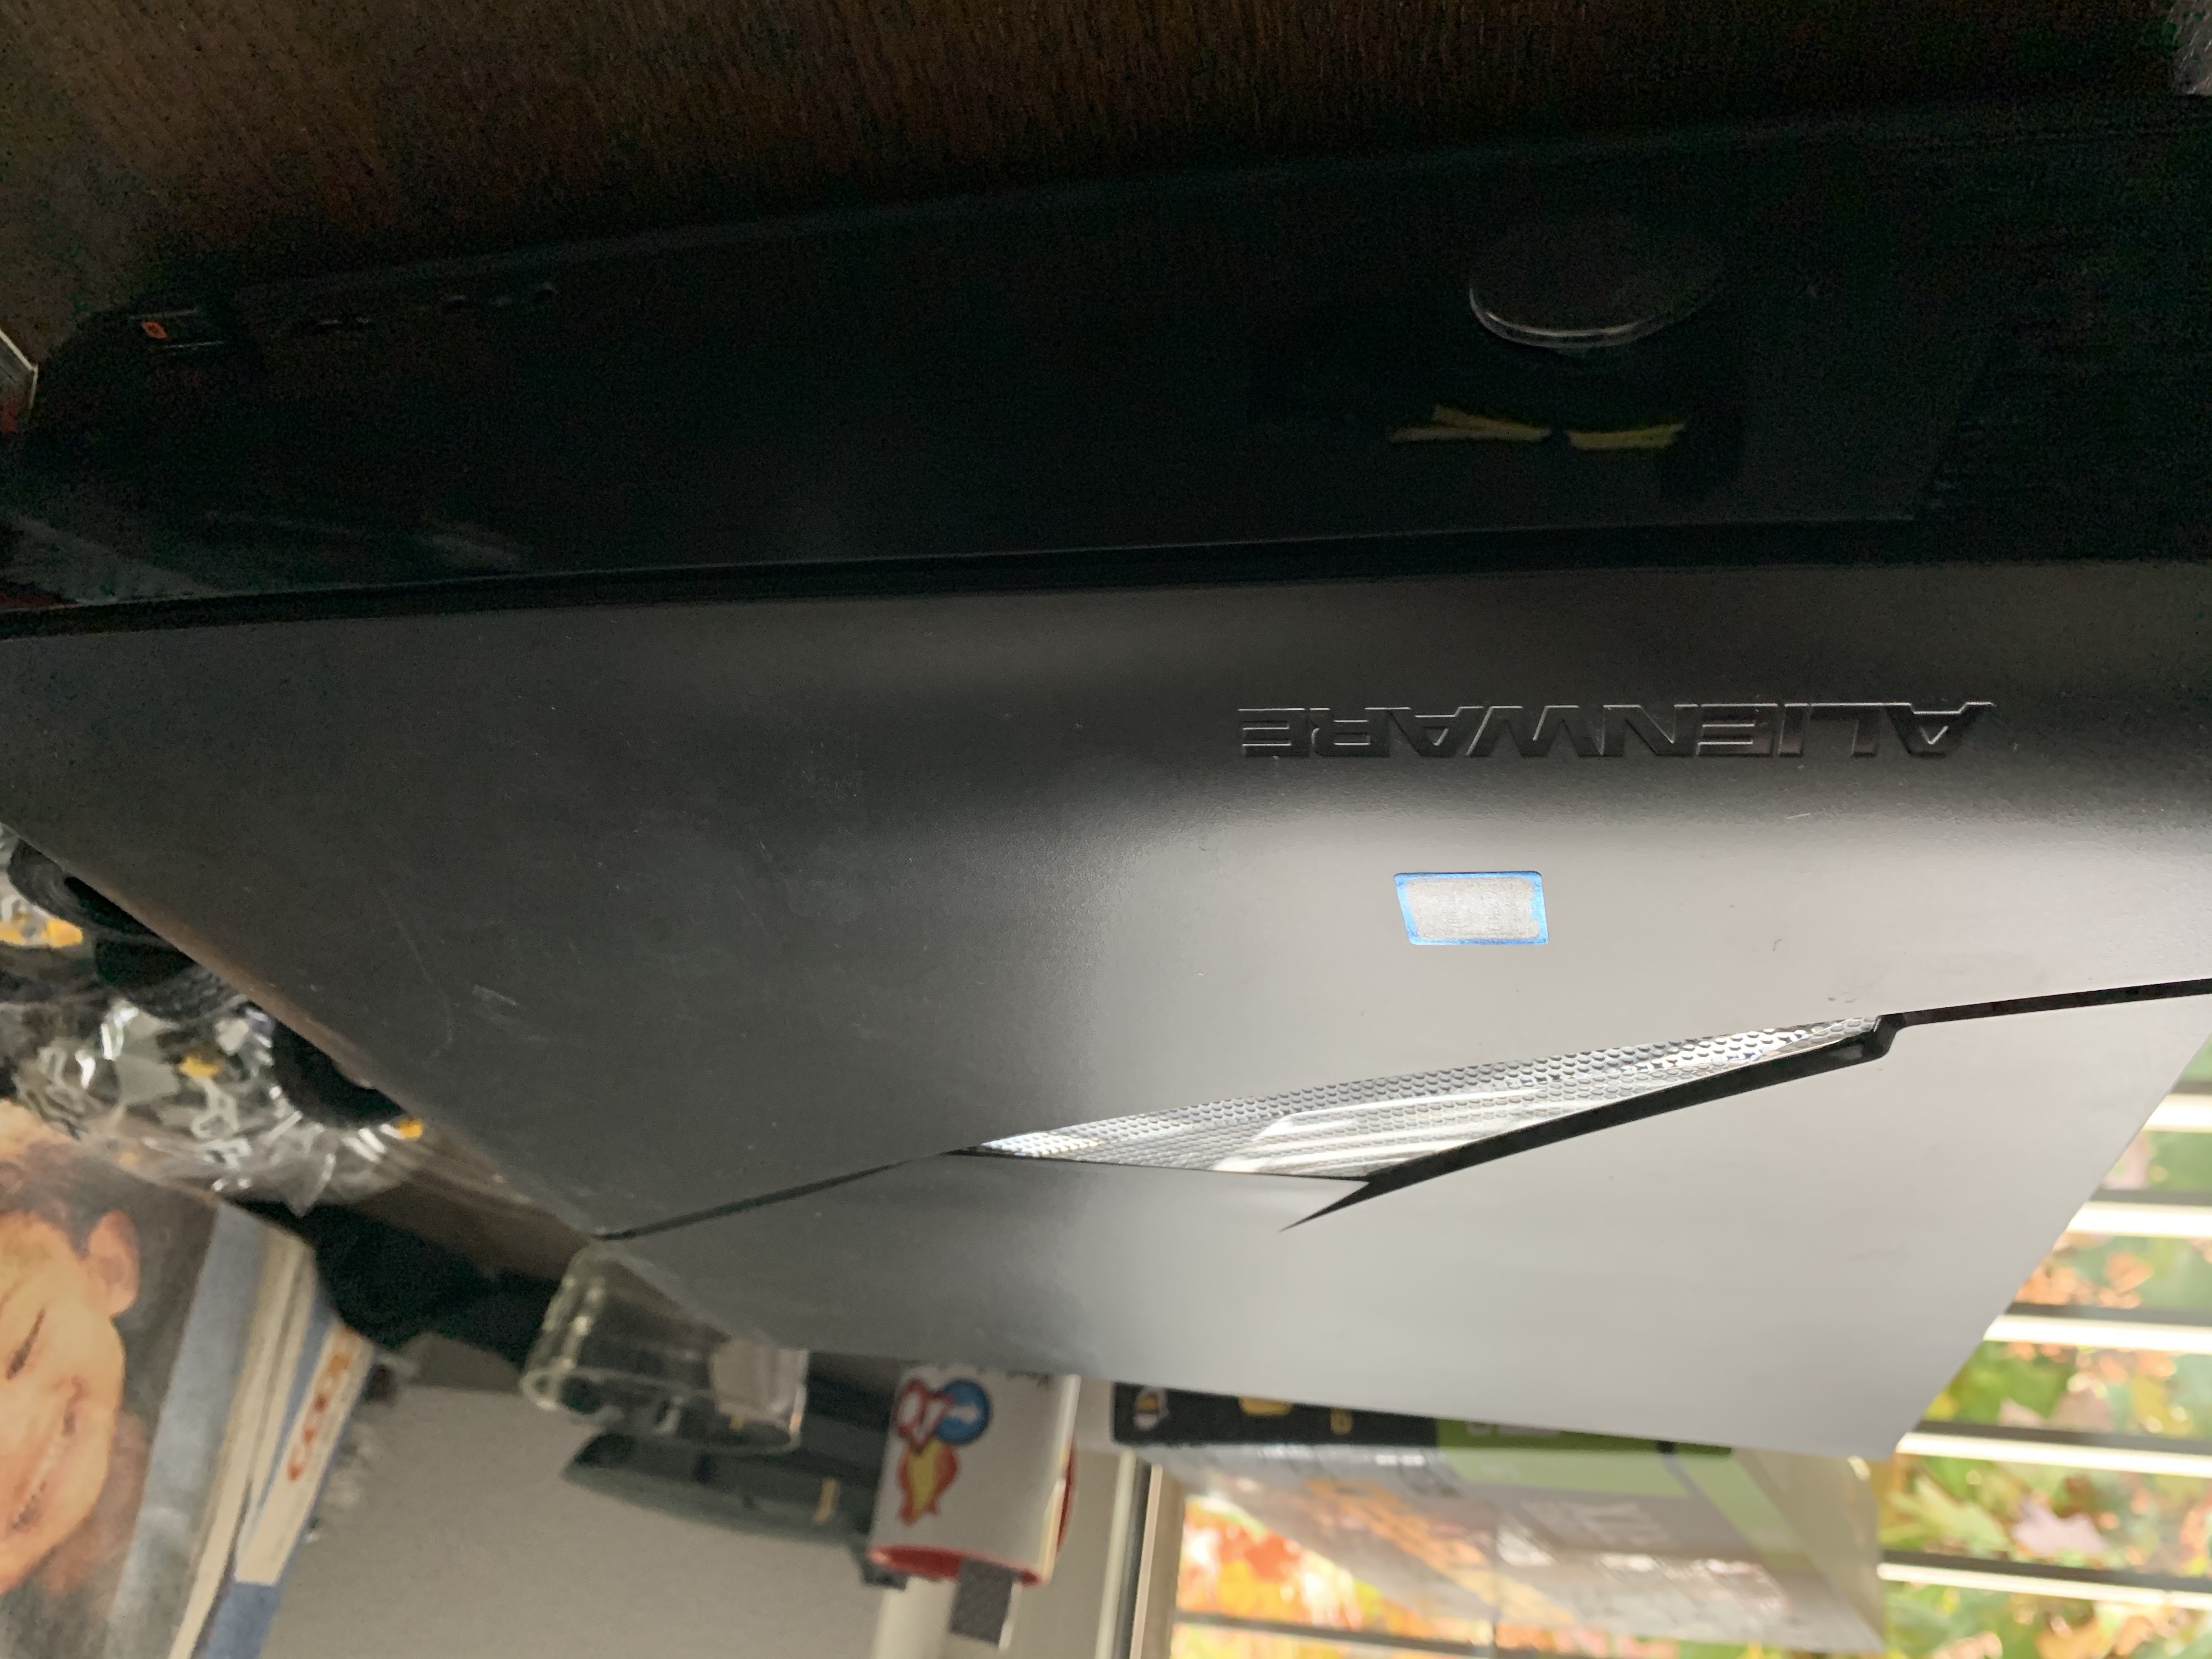
I’m by no means a big gamer, but I do indulge from time to time. I have a Alienware X51 R3 gaming PC. I’m generally happy with it, but it does not keep up well with the most modern games.
Dell is, to their credit, still supporting these machines, and I learned that it would be possible to install the latest generation of nVidia graphics cards.
That would go a long way towards extending the longevity of the machine, and I figured this might well be the last generation of GPUs this machine will be able to drive, due to its very compact case and limited power supply.
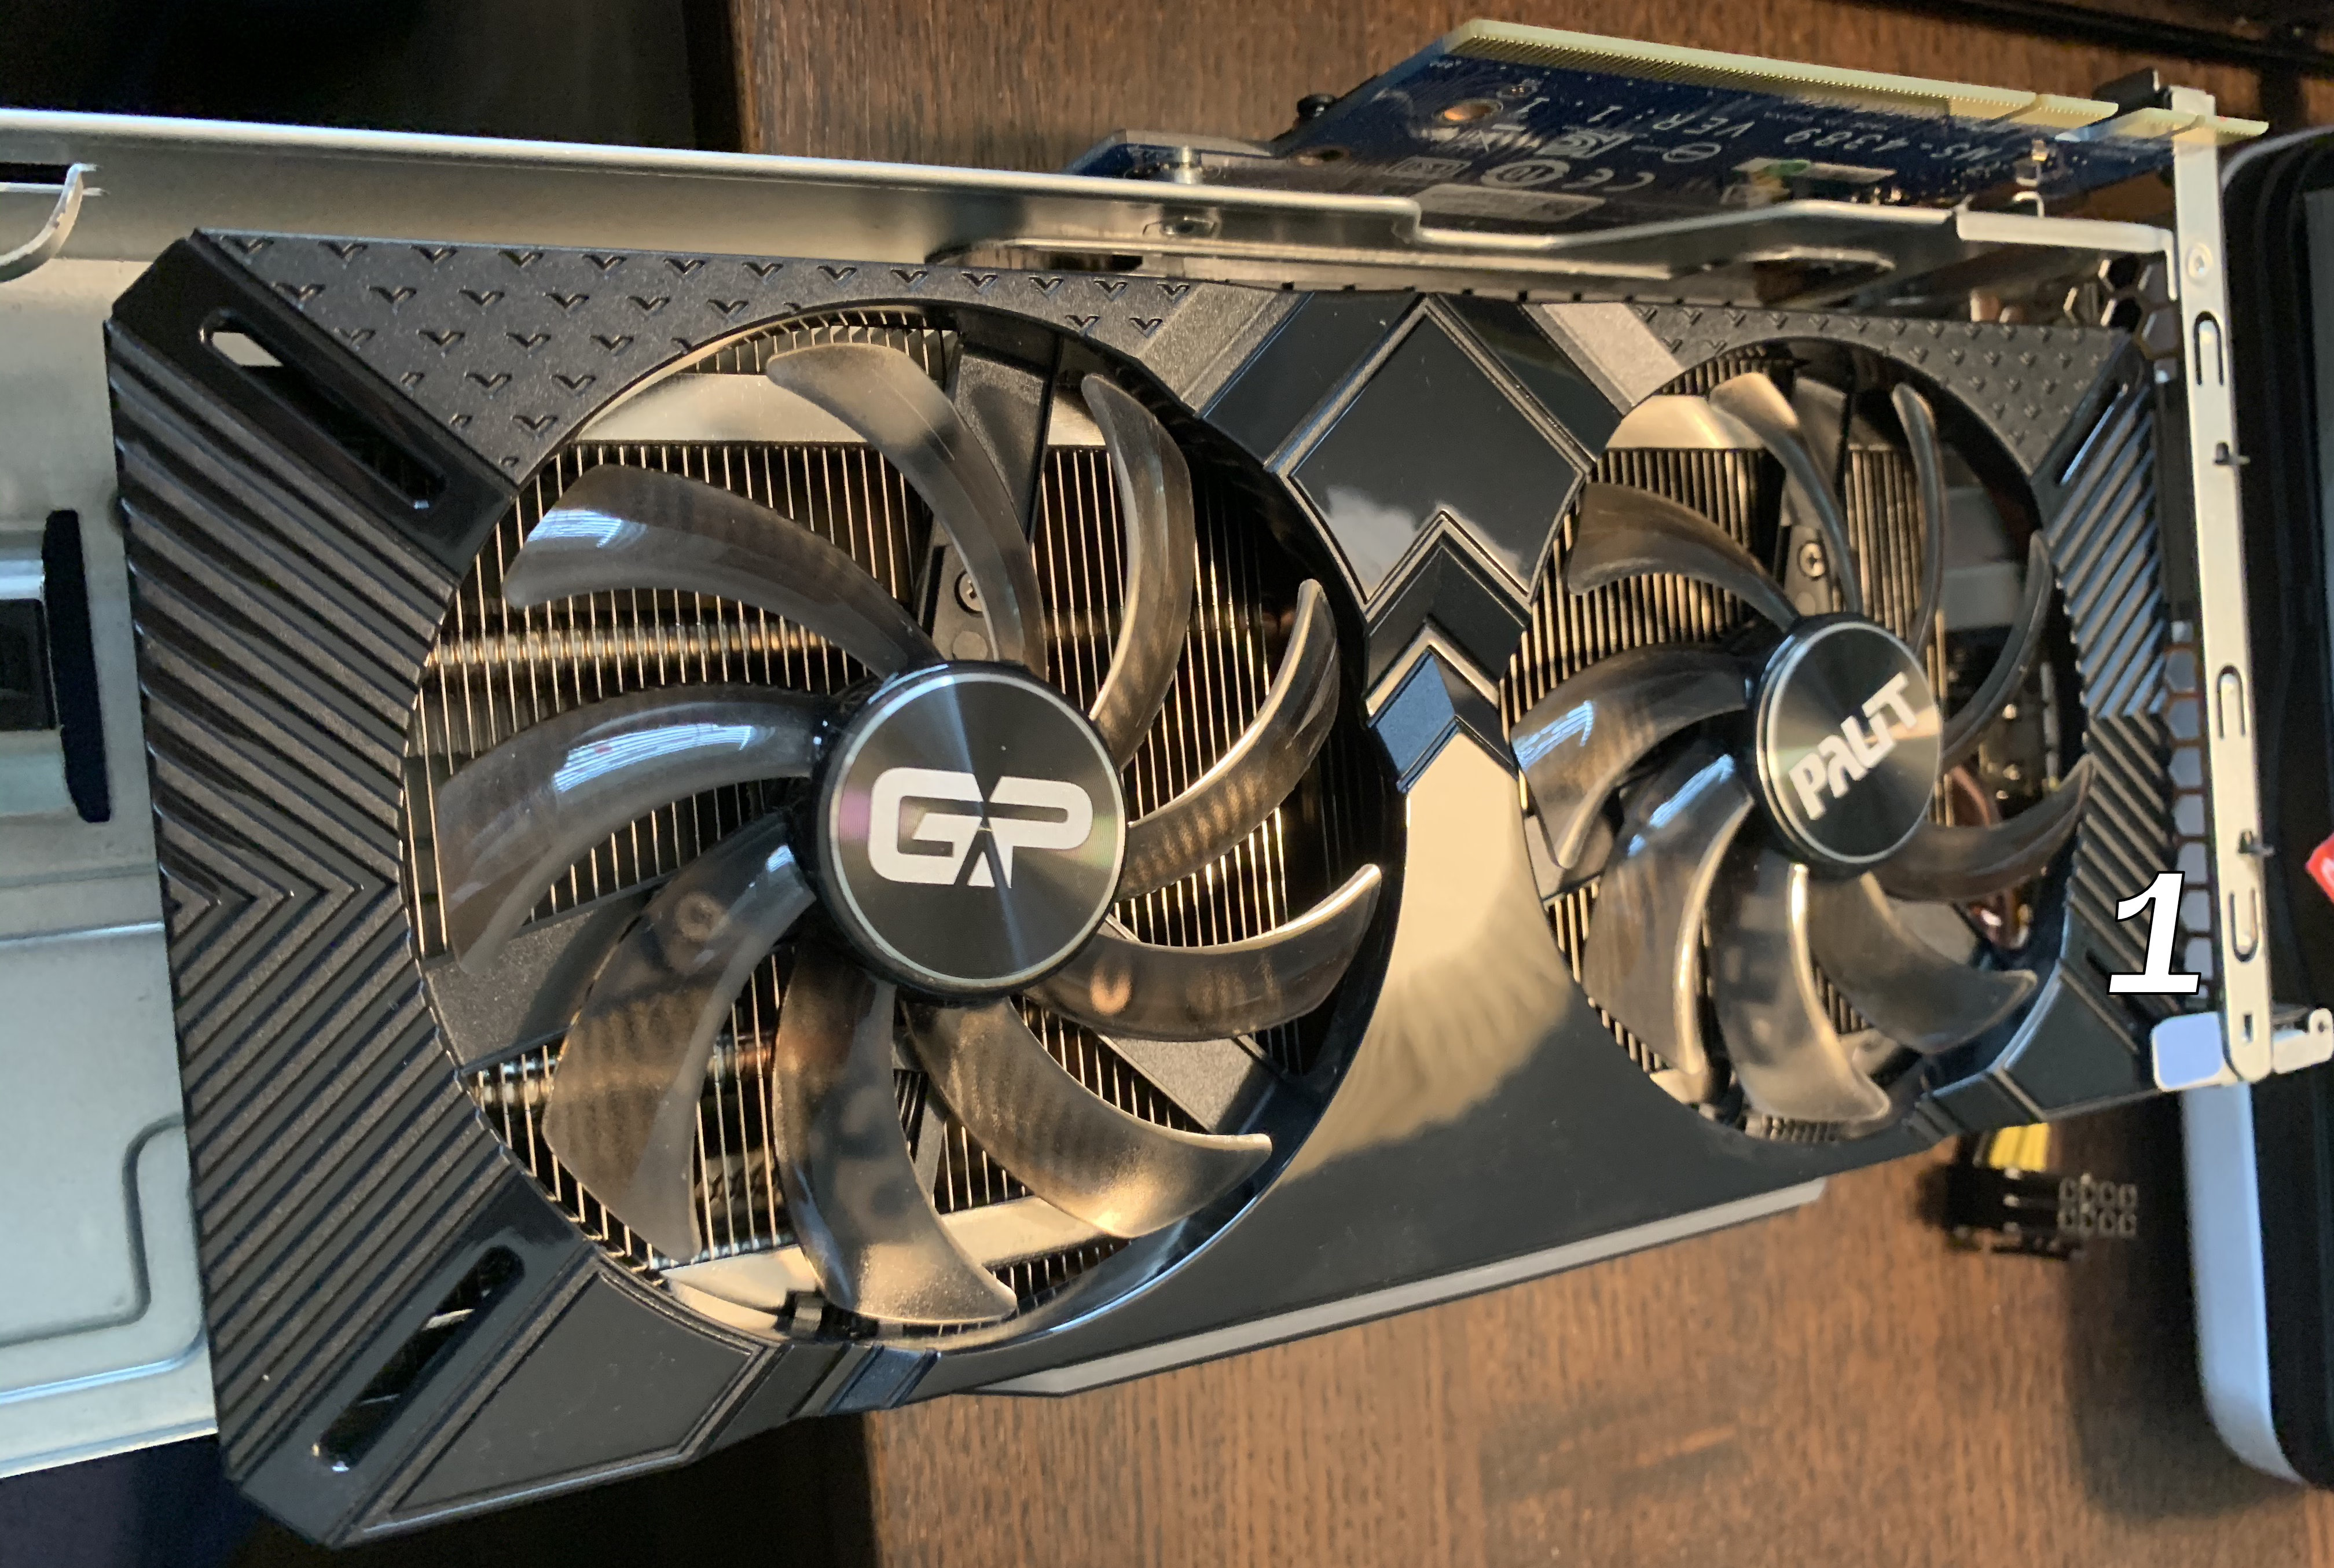
With this in my, I scoured the market for a modern card that would fit in the small space and could work with the limited power supply, and ended up settling on the Palit GeForce RTX 2060 GamingPro (6GB). It’s an open air cooling model, which is sub-optimal for the small case, but I could not find a blower, that would fit, and otherwise it fits my needs well.
Power cable
Aside from the card it self, I had to get a special adapter cable to convert the two 6-pin power cables that powered the old card into one 8-pin connection the new card required. I also needed one with a 90-degree angled plug, since the cable needs to fit in a small space between the graphics card and the bottom of the main casing.
Such cables are not common. The best match I found was Kareon Kables’ 90 Degree Dual 6-Pin to 8-Pin PCI-E High Output Adapter, which you will see in use shortly.
Installation
With the card and the adapter cable in hand, let’s see how to install them.
Step 1, remove the side panel
There’s a single black screw on the back of the case that locks the side panel in place. After removing that, you can slide the side panel backwards to unlatch it and take it off.
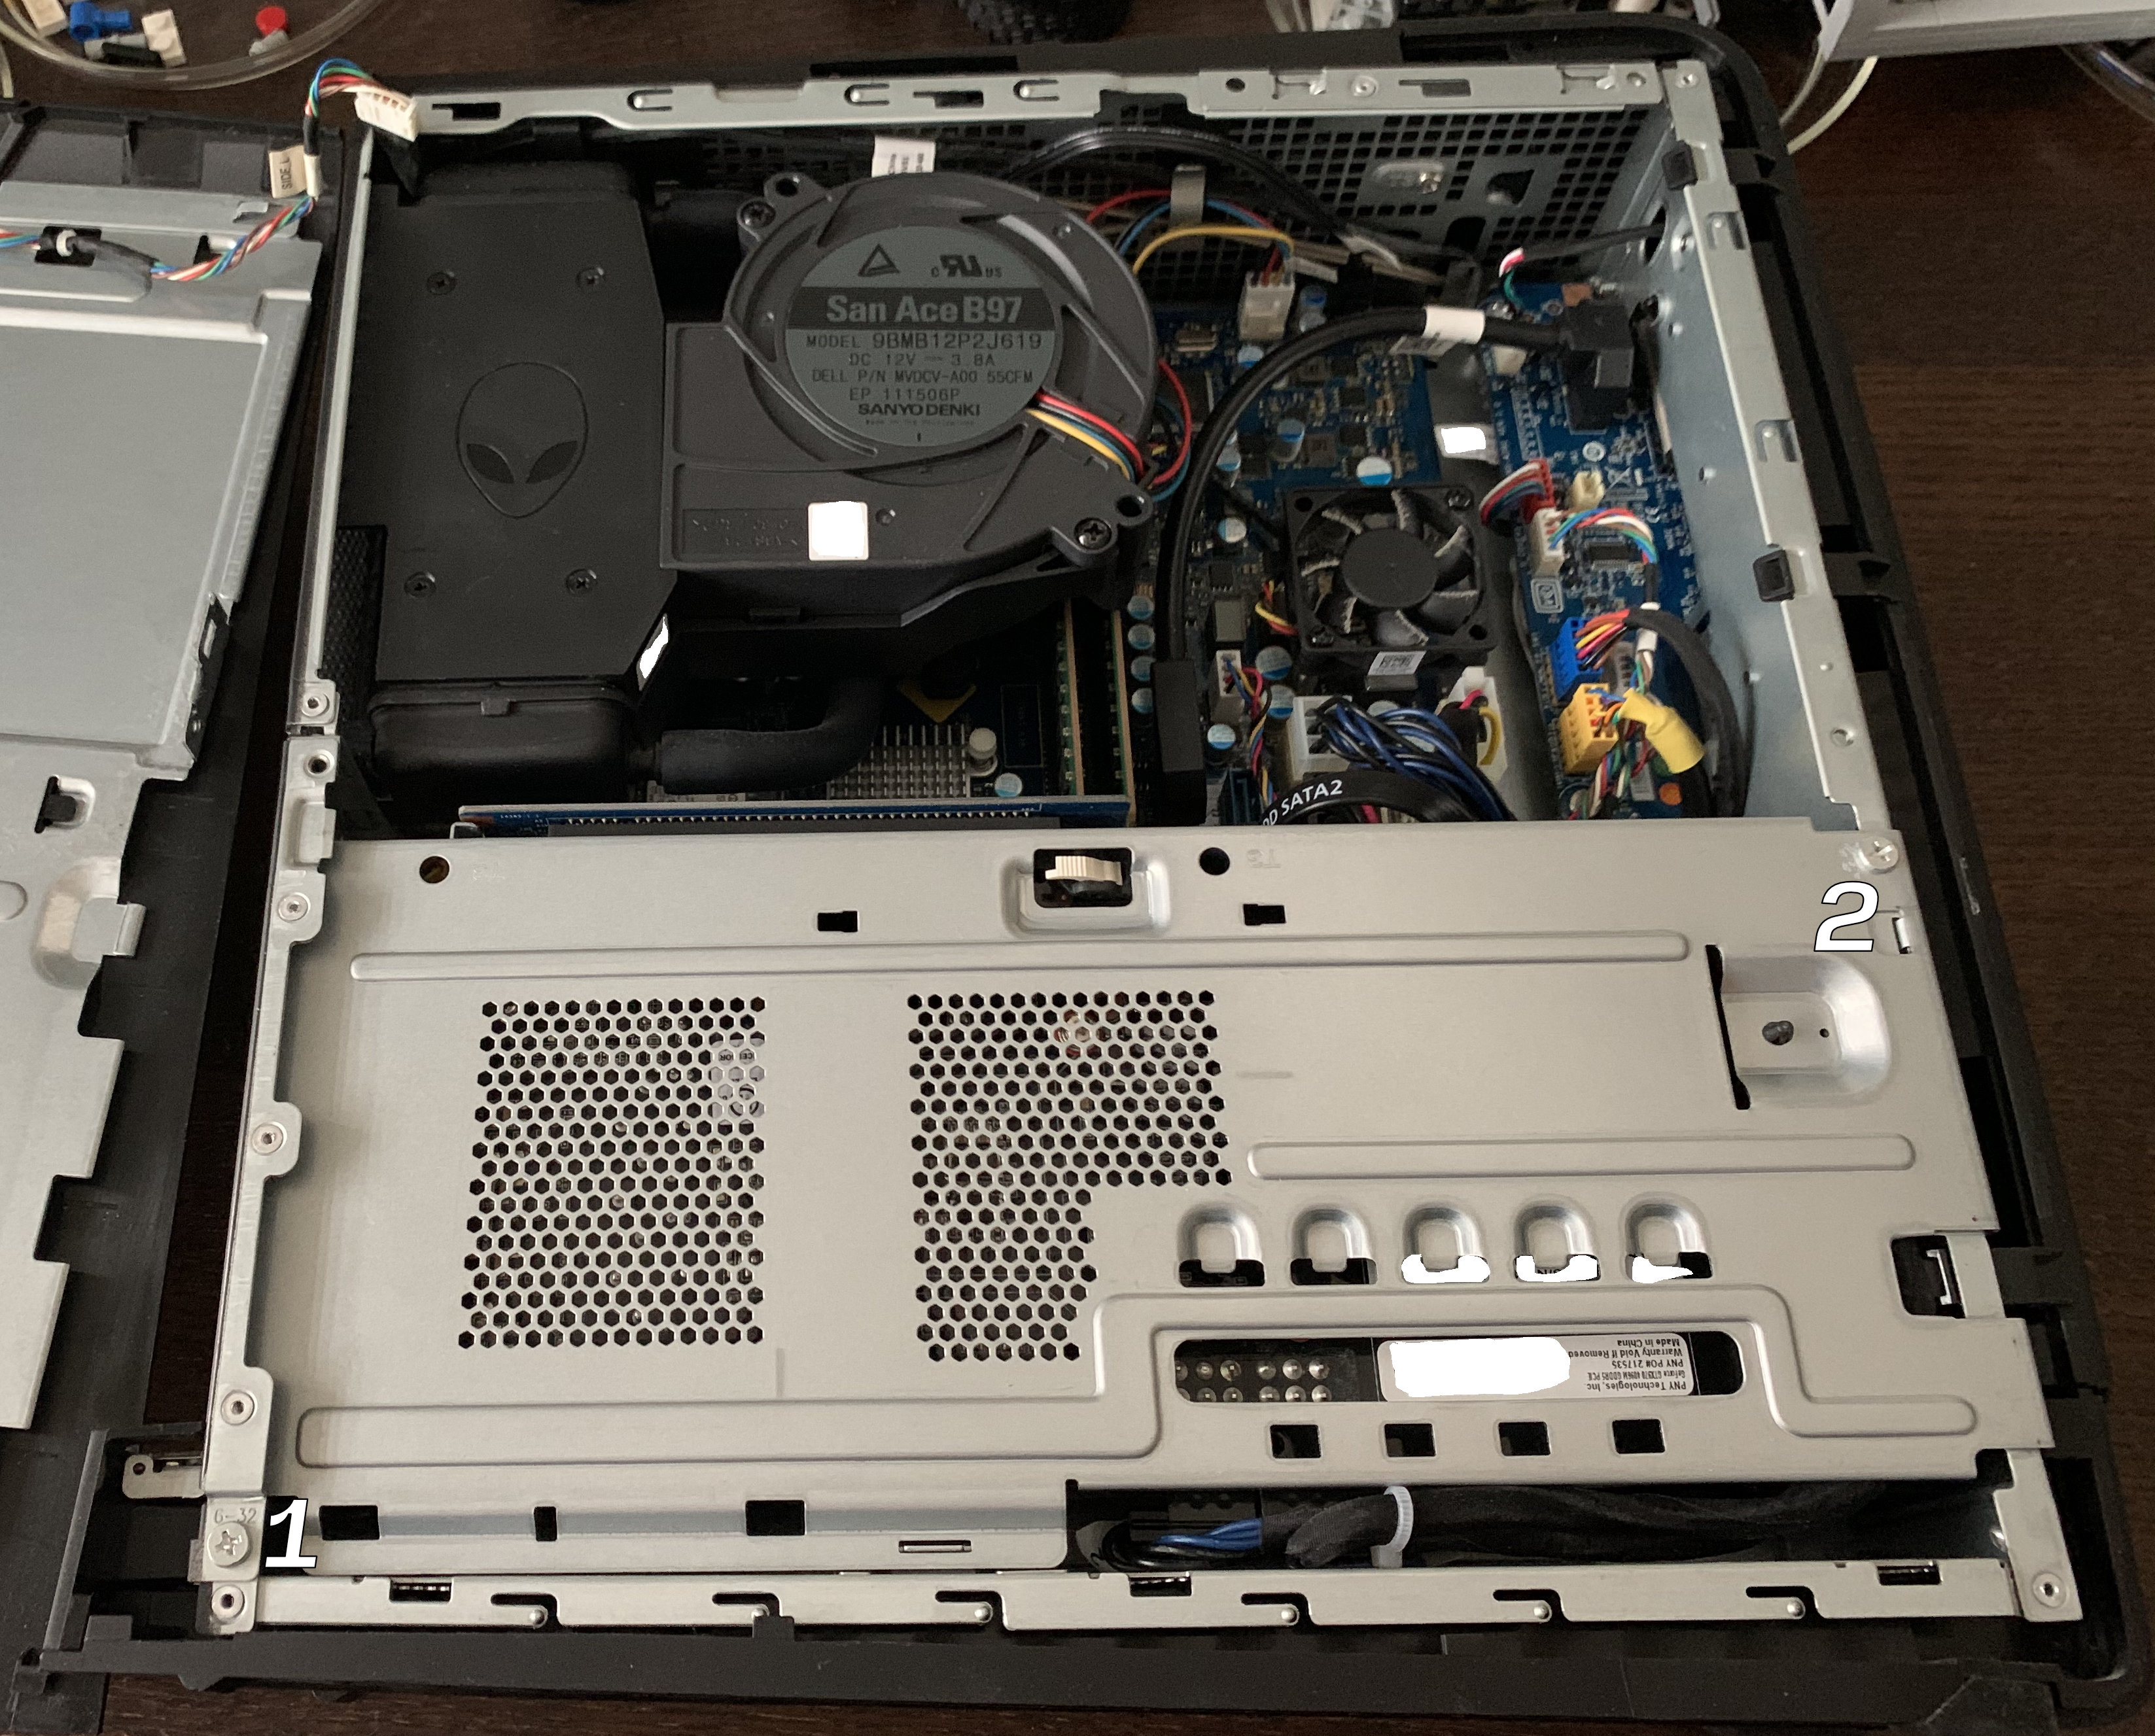
Be mindful of the cable to the side LED lights, seen in the top left side of the picture. You can disconnect it, but I opted to simply leave it connected, putting down the side panel right next to the main casing.
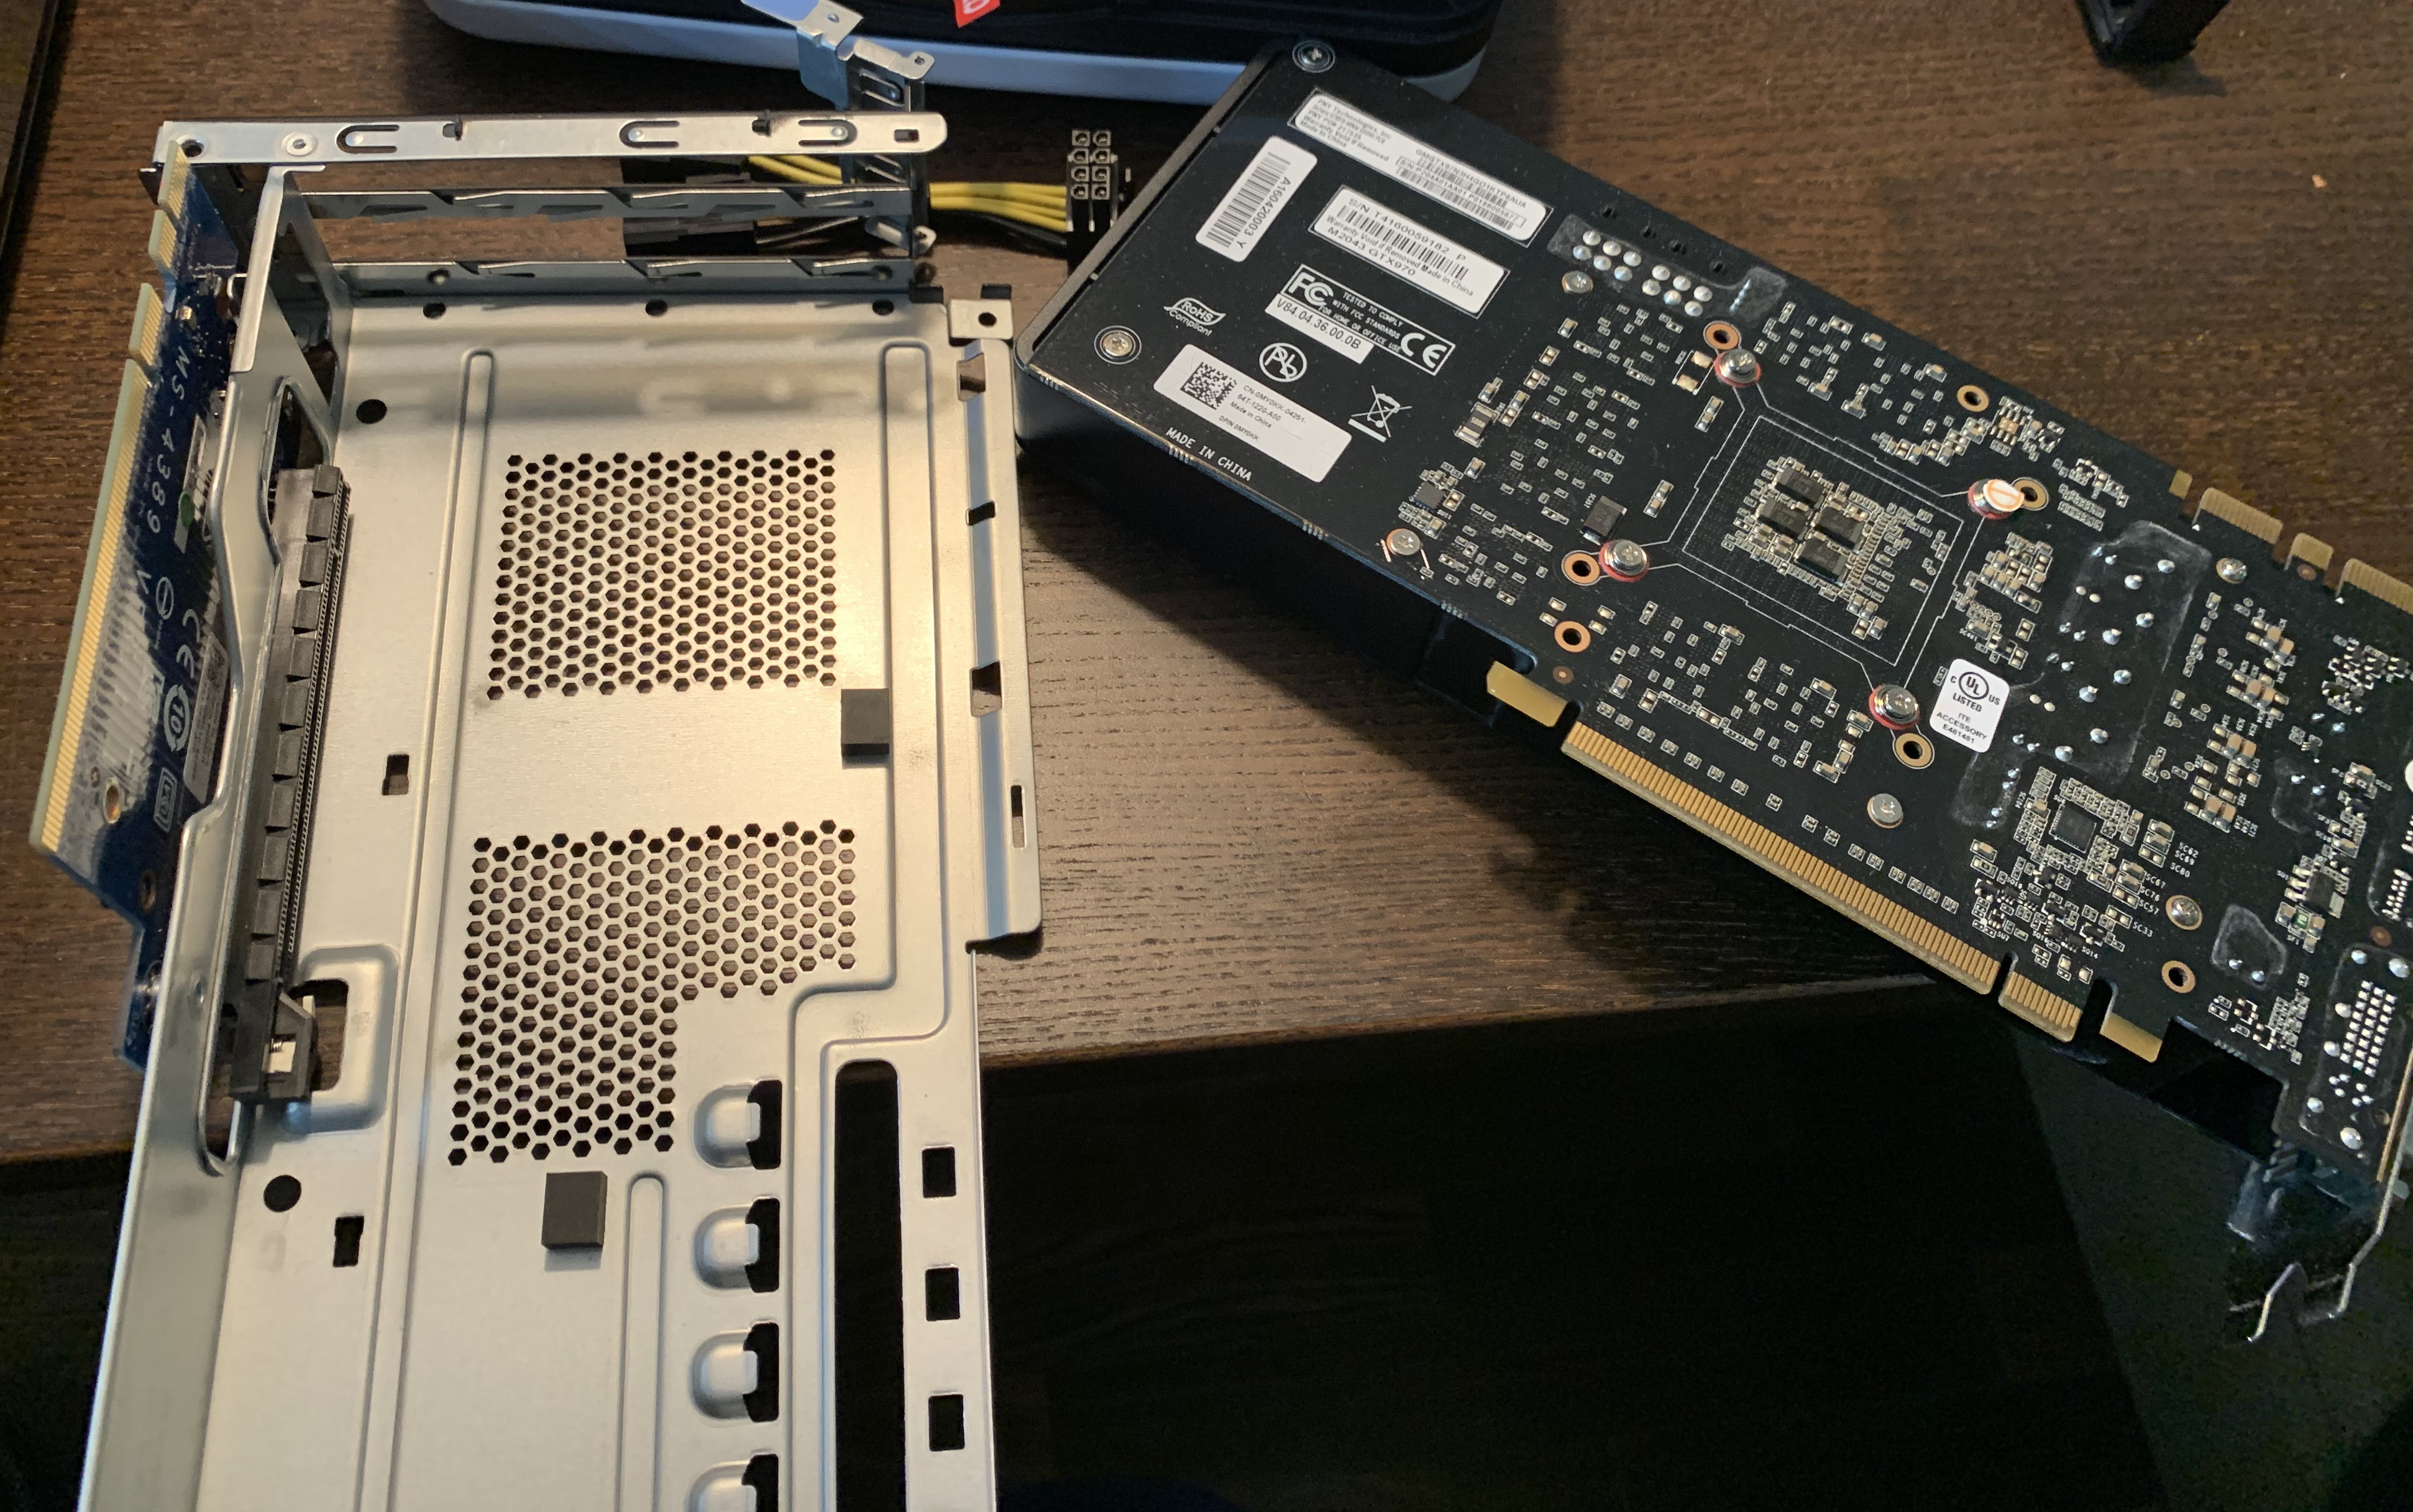
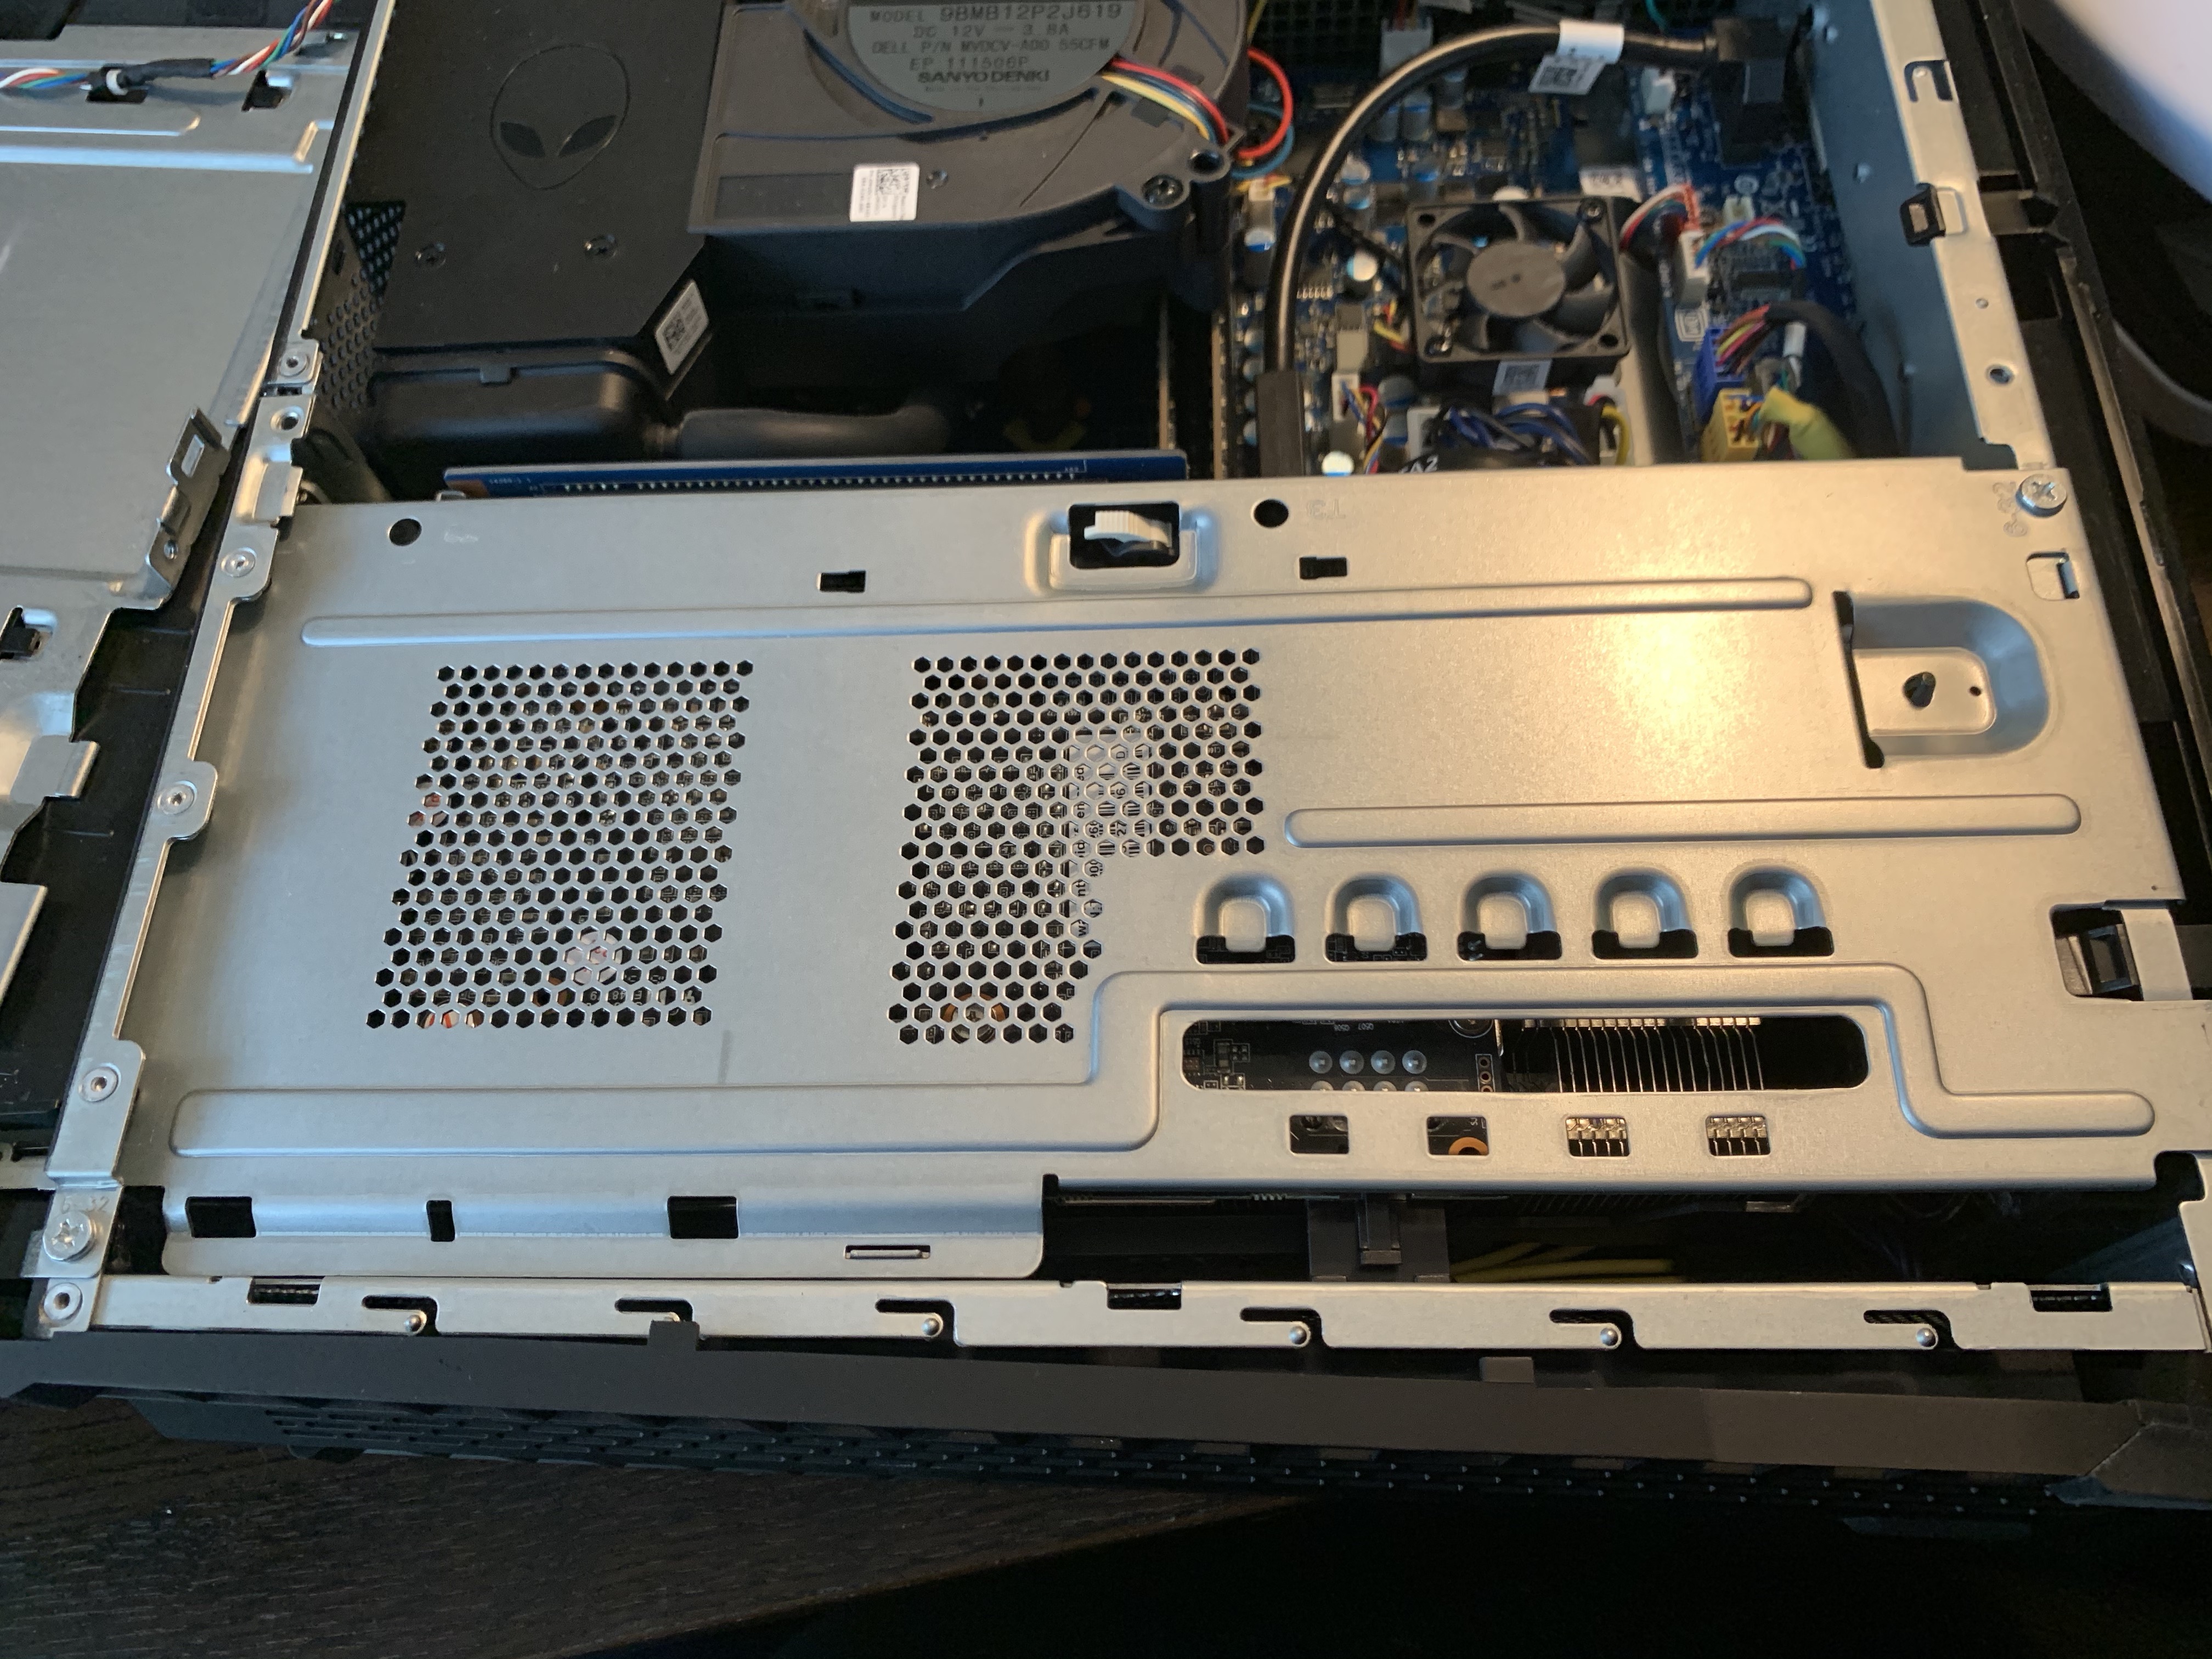
Step 2, remove the graphics card cradle
With the two screws (pictured above) removed, you can pull out the graphics card cradle by pulling upward (assuming you’ve got the machine lying on its side, as pictured). There’s no good place to grip, and it requires a strong pull to get it out of the socket its connected to on the motherboard, so be careful not to damage anything in the process.
Once you have the cradle disconnected from the motherboard, you’ll have to disconnect the two power cables connected directly to the graphics card and open the plastic bracket holding them next to the graphics card, to be able to remove the cradle itself.
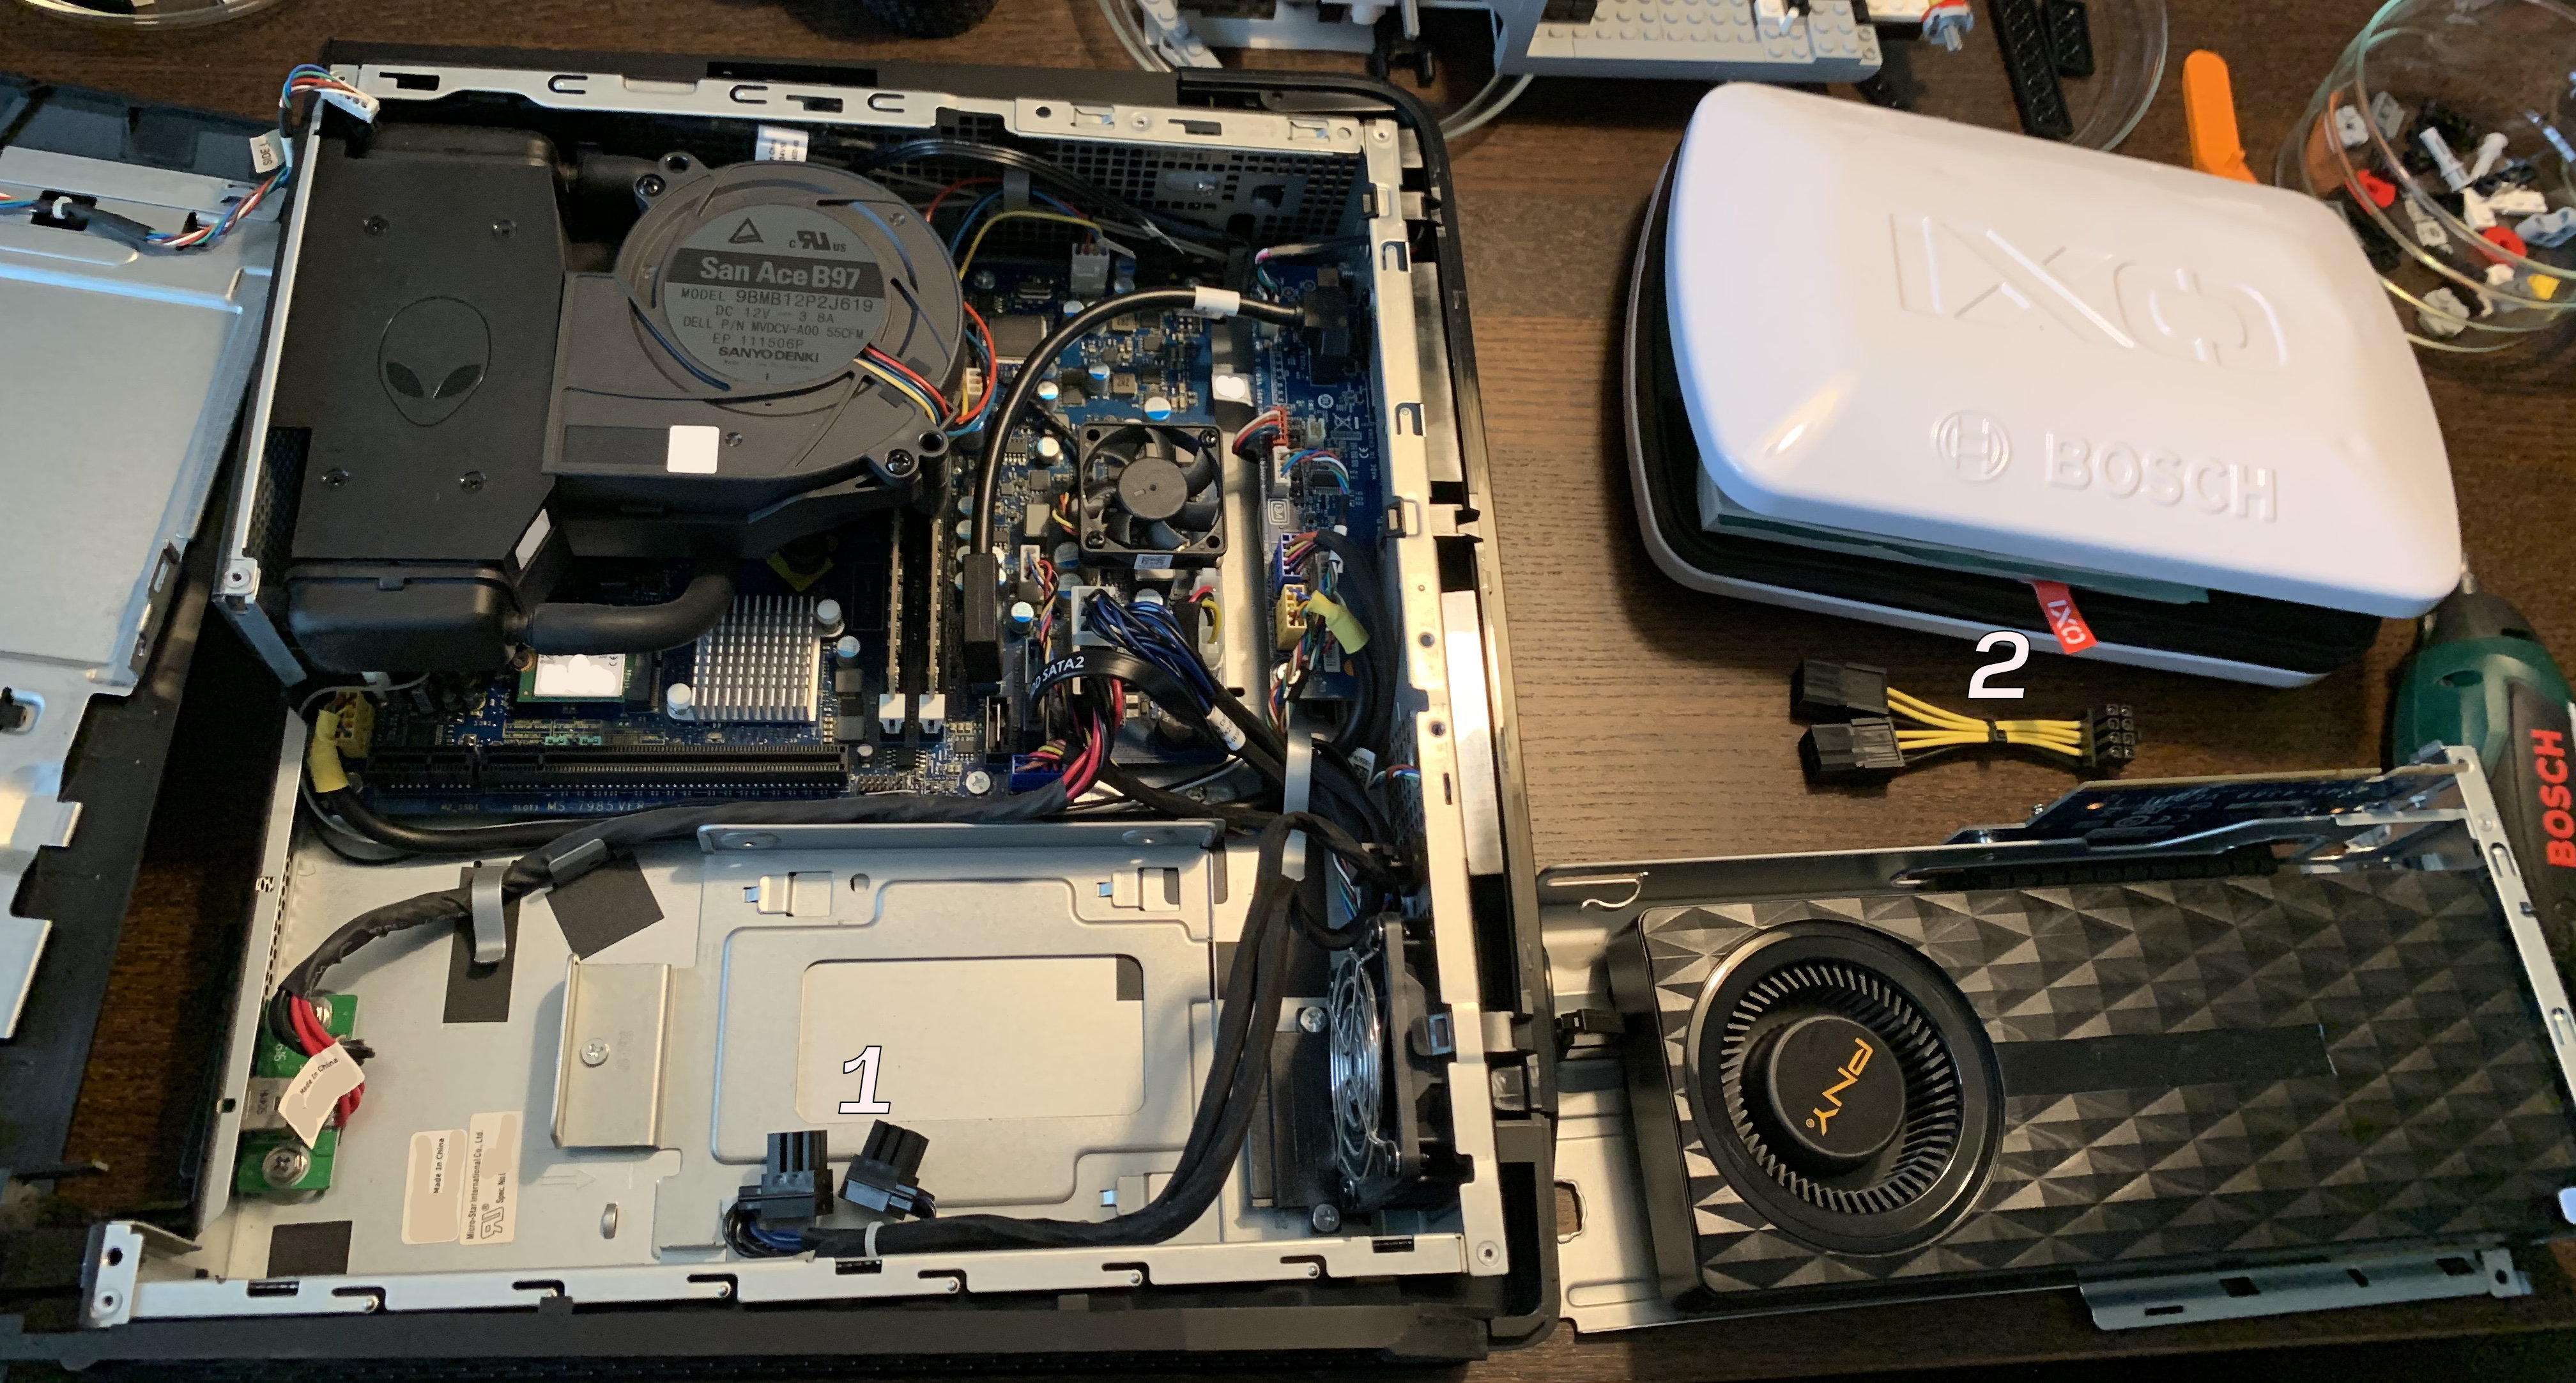
Step 3, remove the card from the cradle

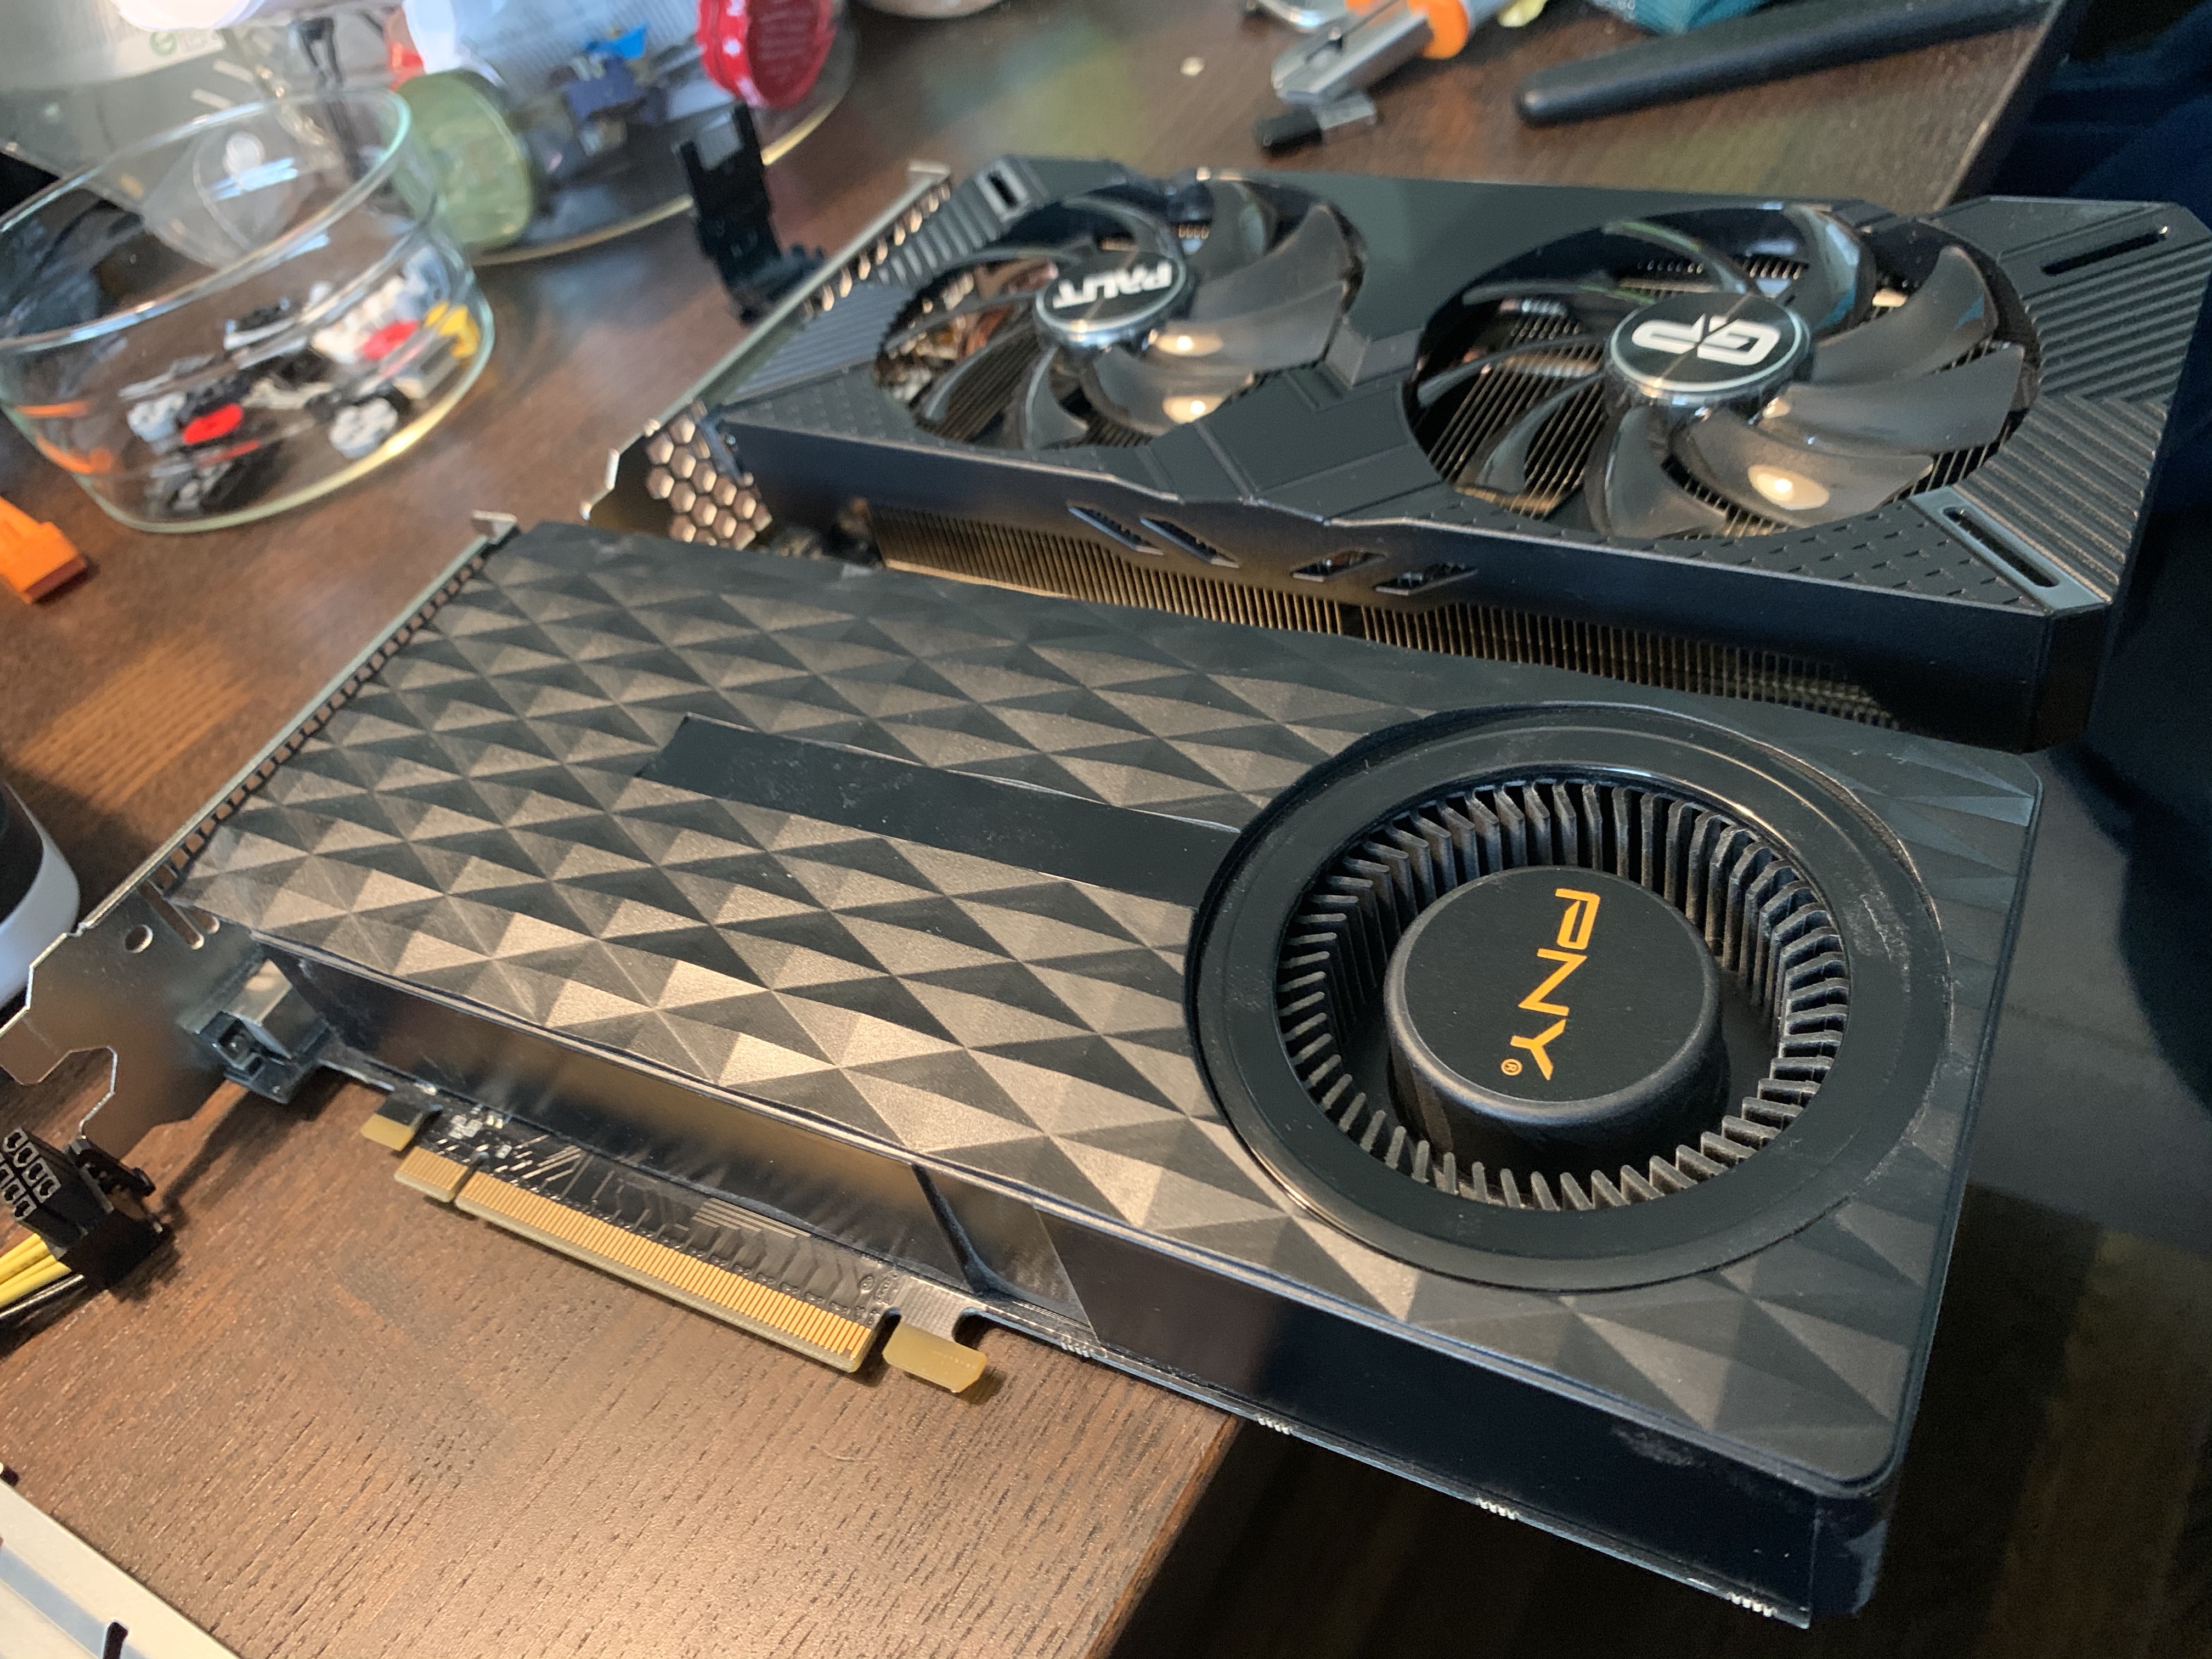
Step 4, put the new card in the cradle
Step 5, attach the power cables and put the cradle back in place
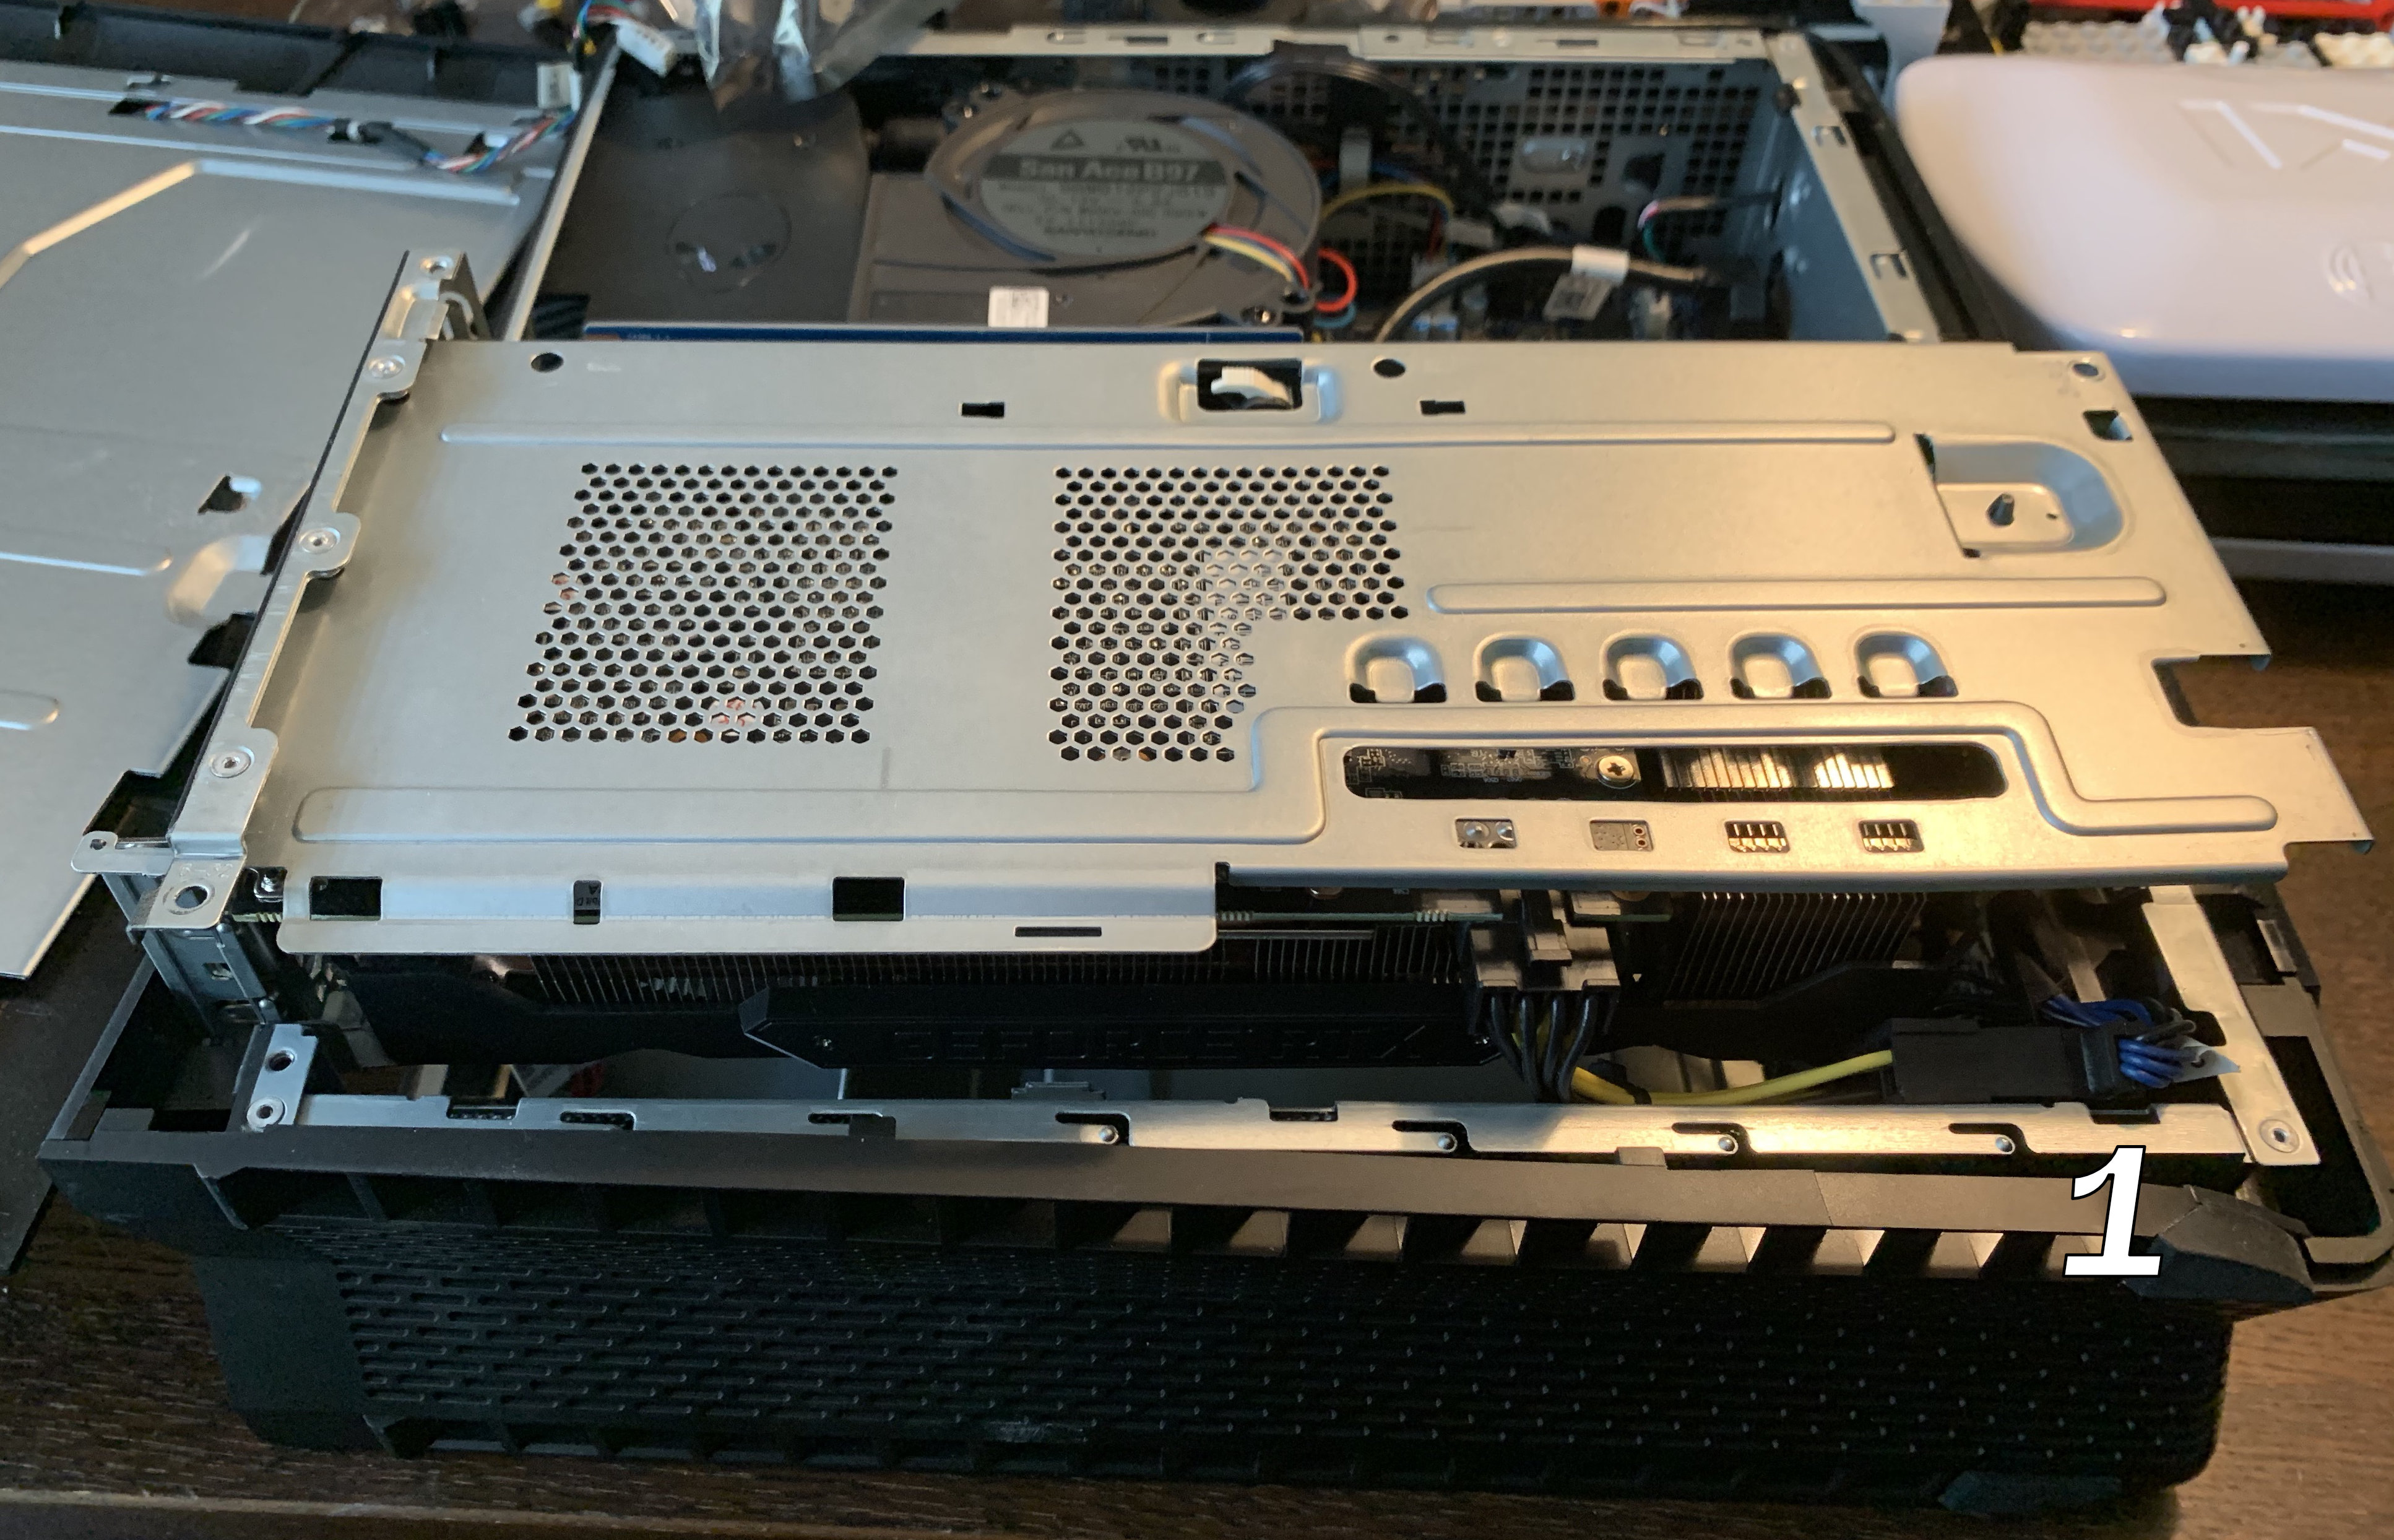
Once you’ve got the cables in a good position, simply push the cradle until it is level with the main casing.
Step 6, screw the cradle back in its place
Step 7, try it out
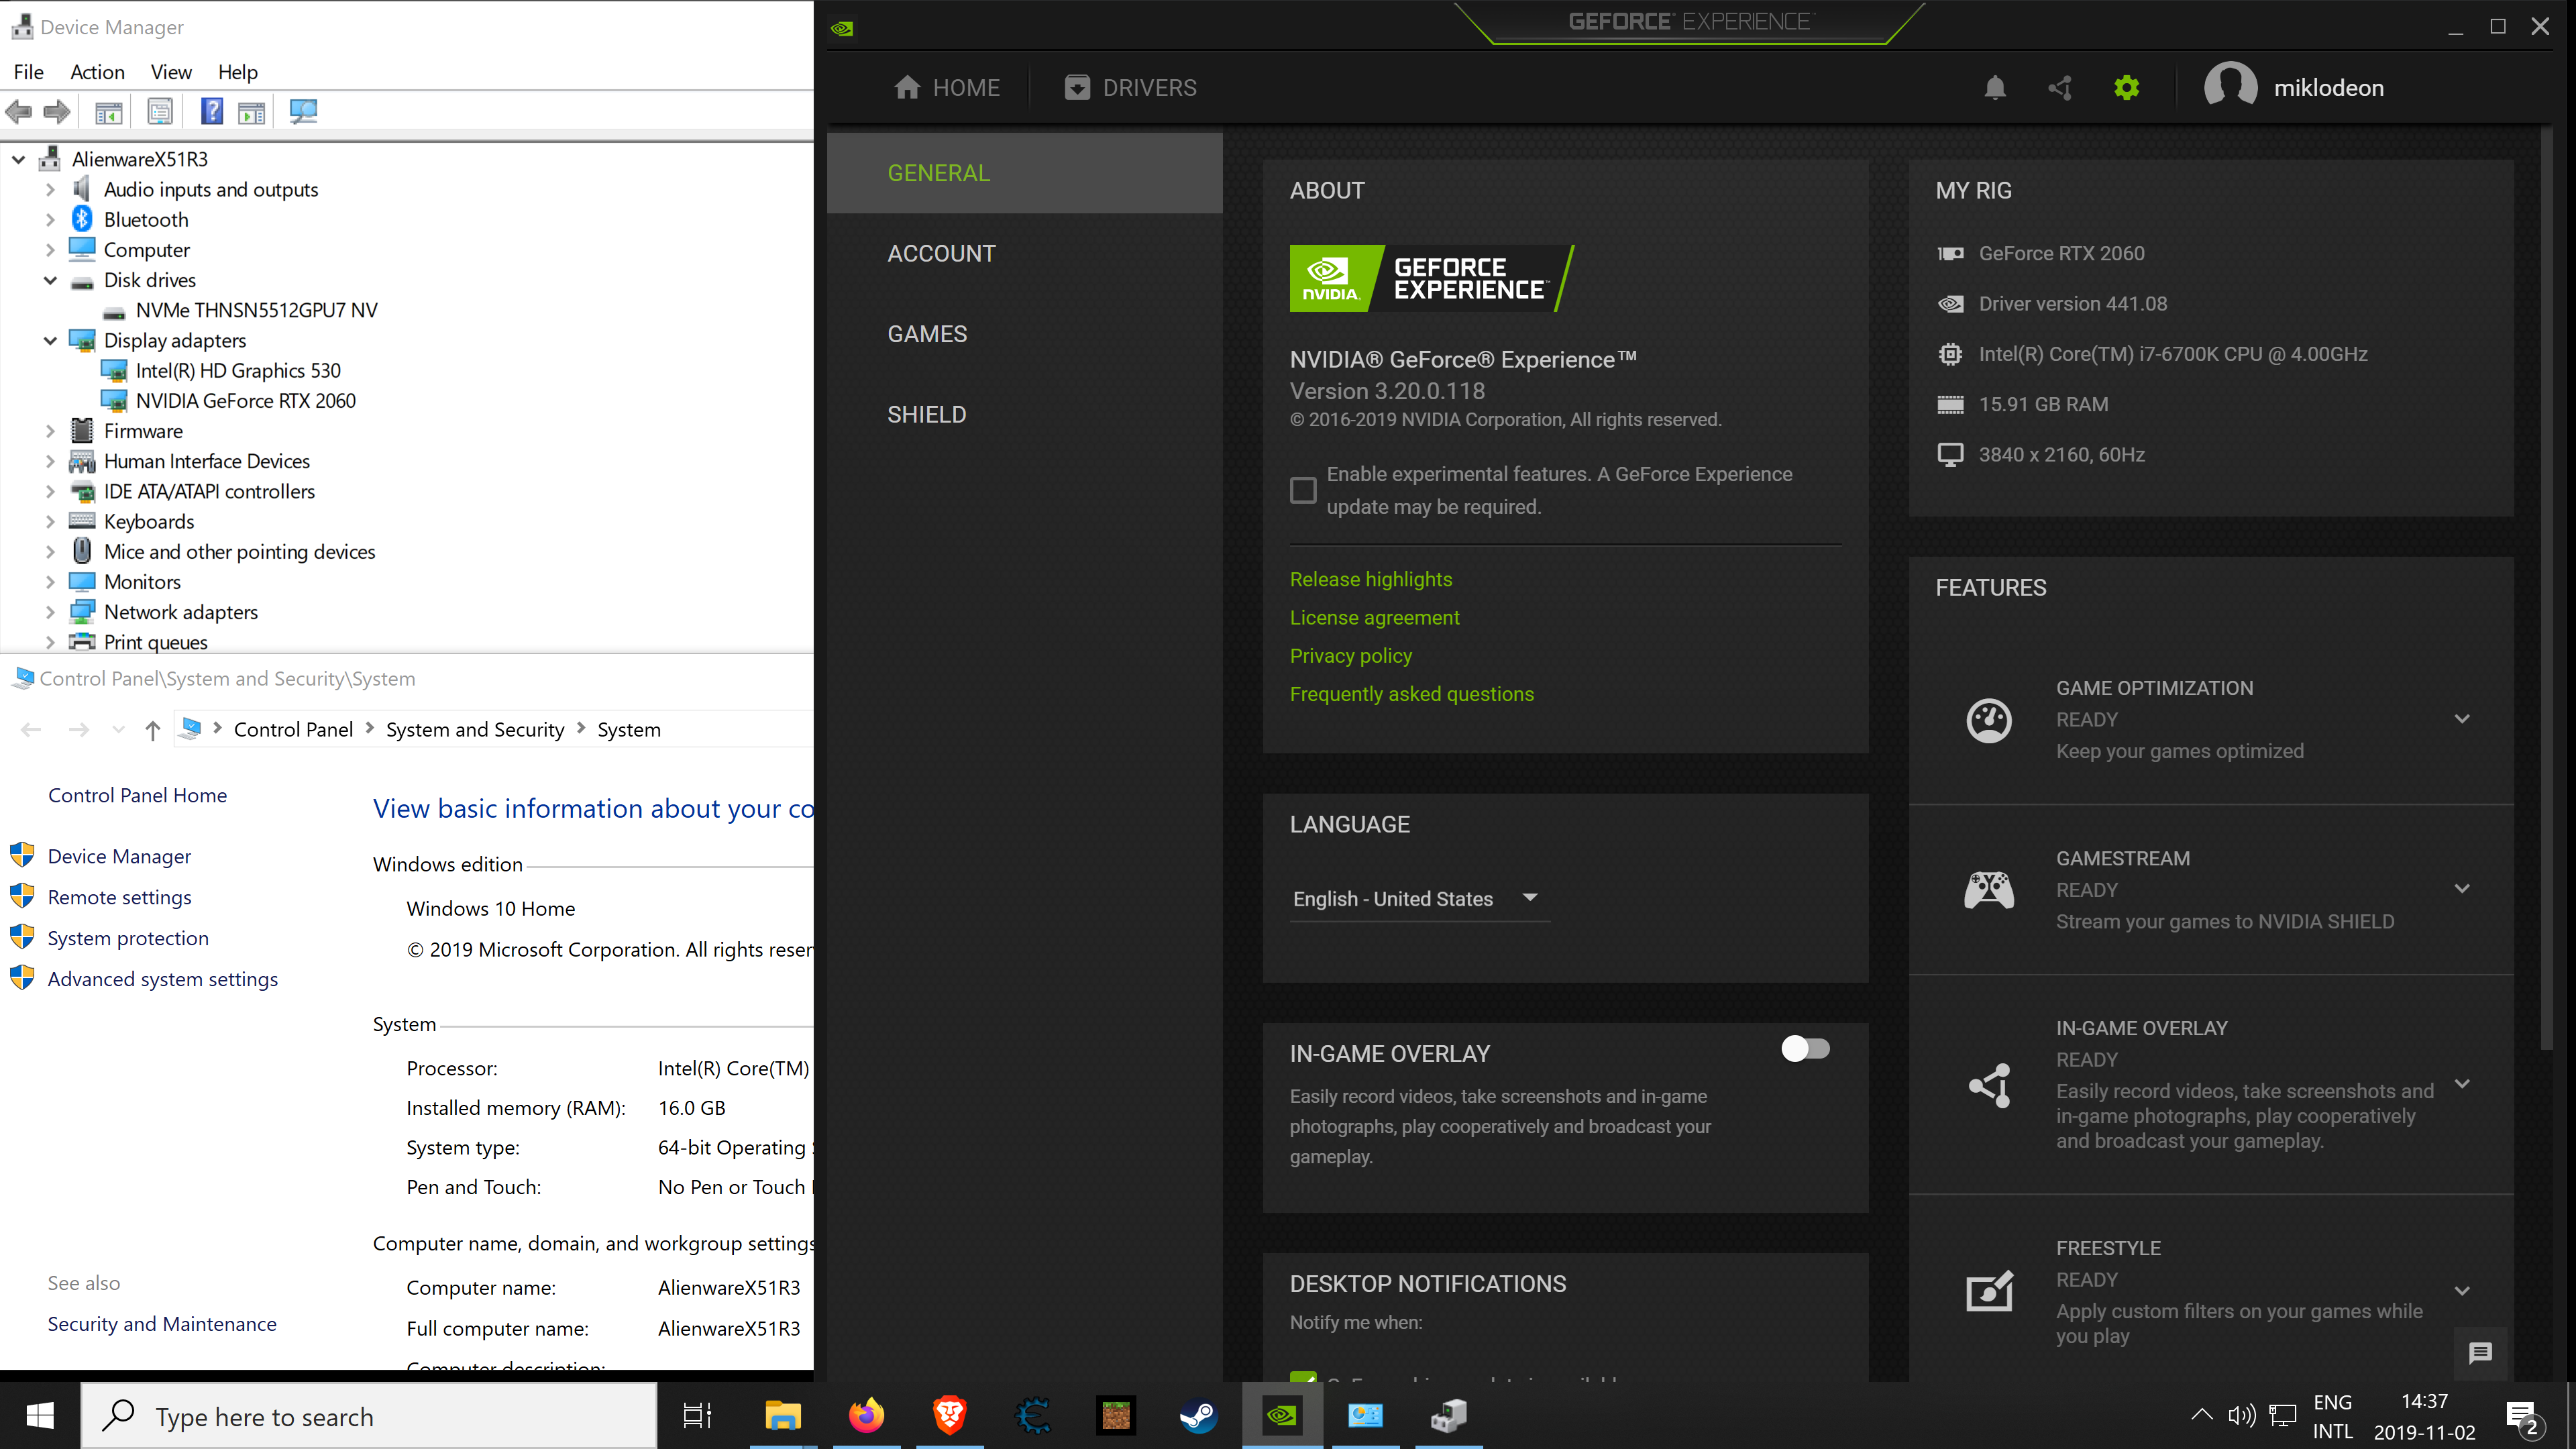
We’re done, turn the machine on and see what happens.
On first boot, the card wasn’t properly recognized. I had to reinstall the nVidia drivers for Windows to pick it up properly, but after that it worked fine, sound via HDMI and all.
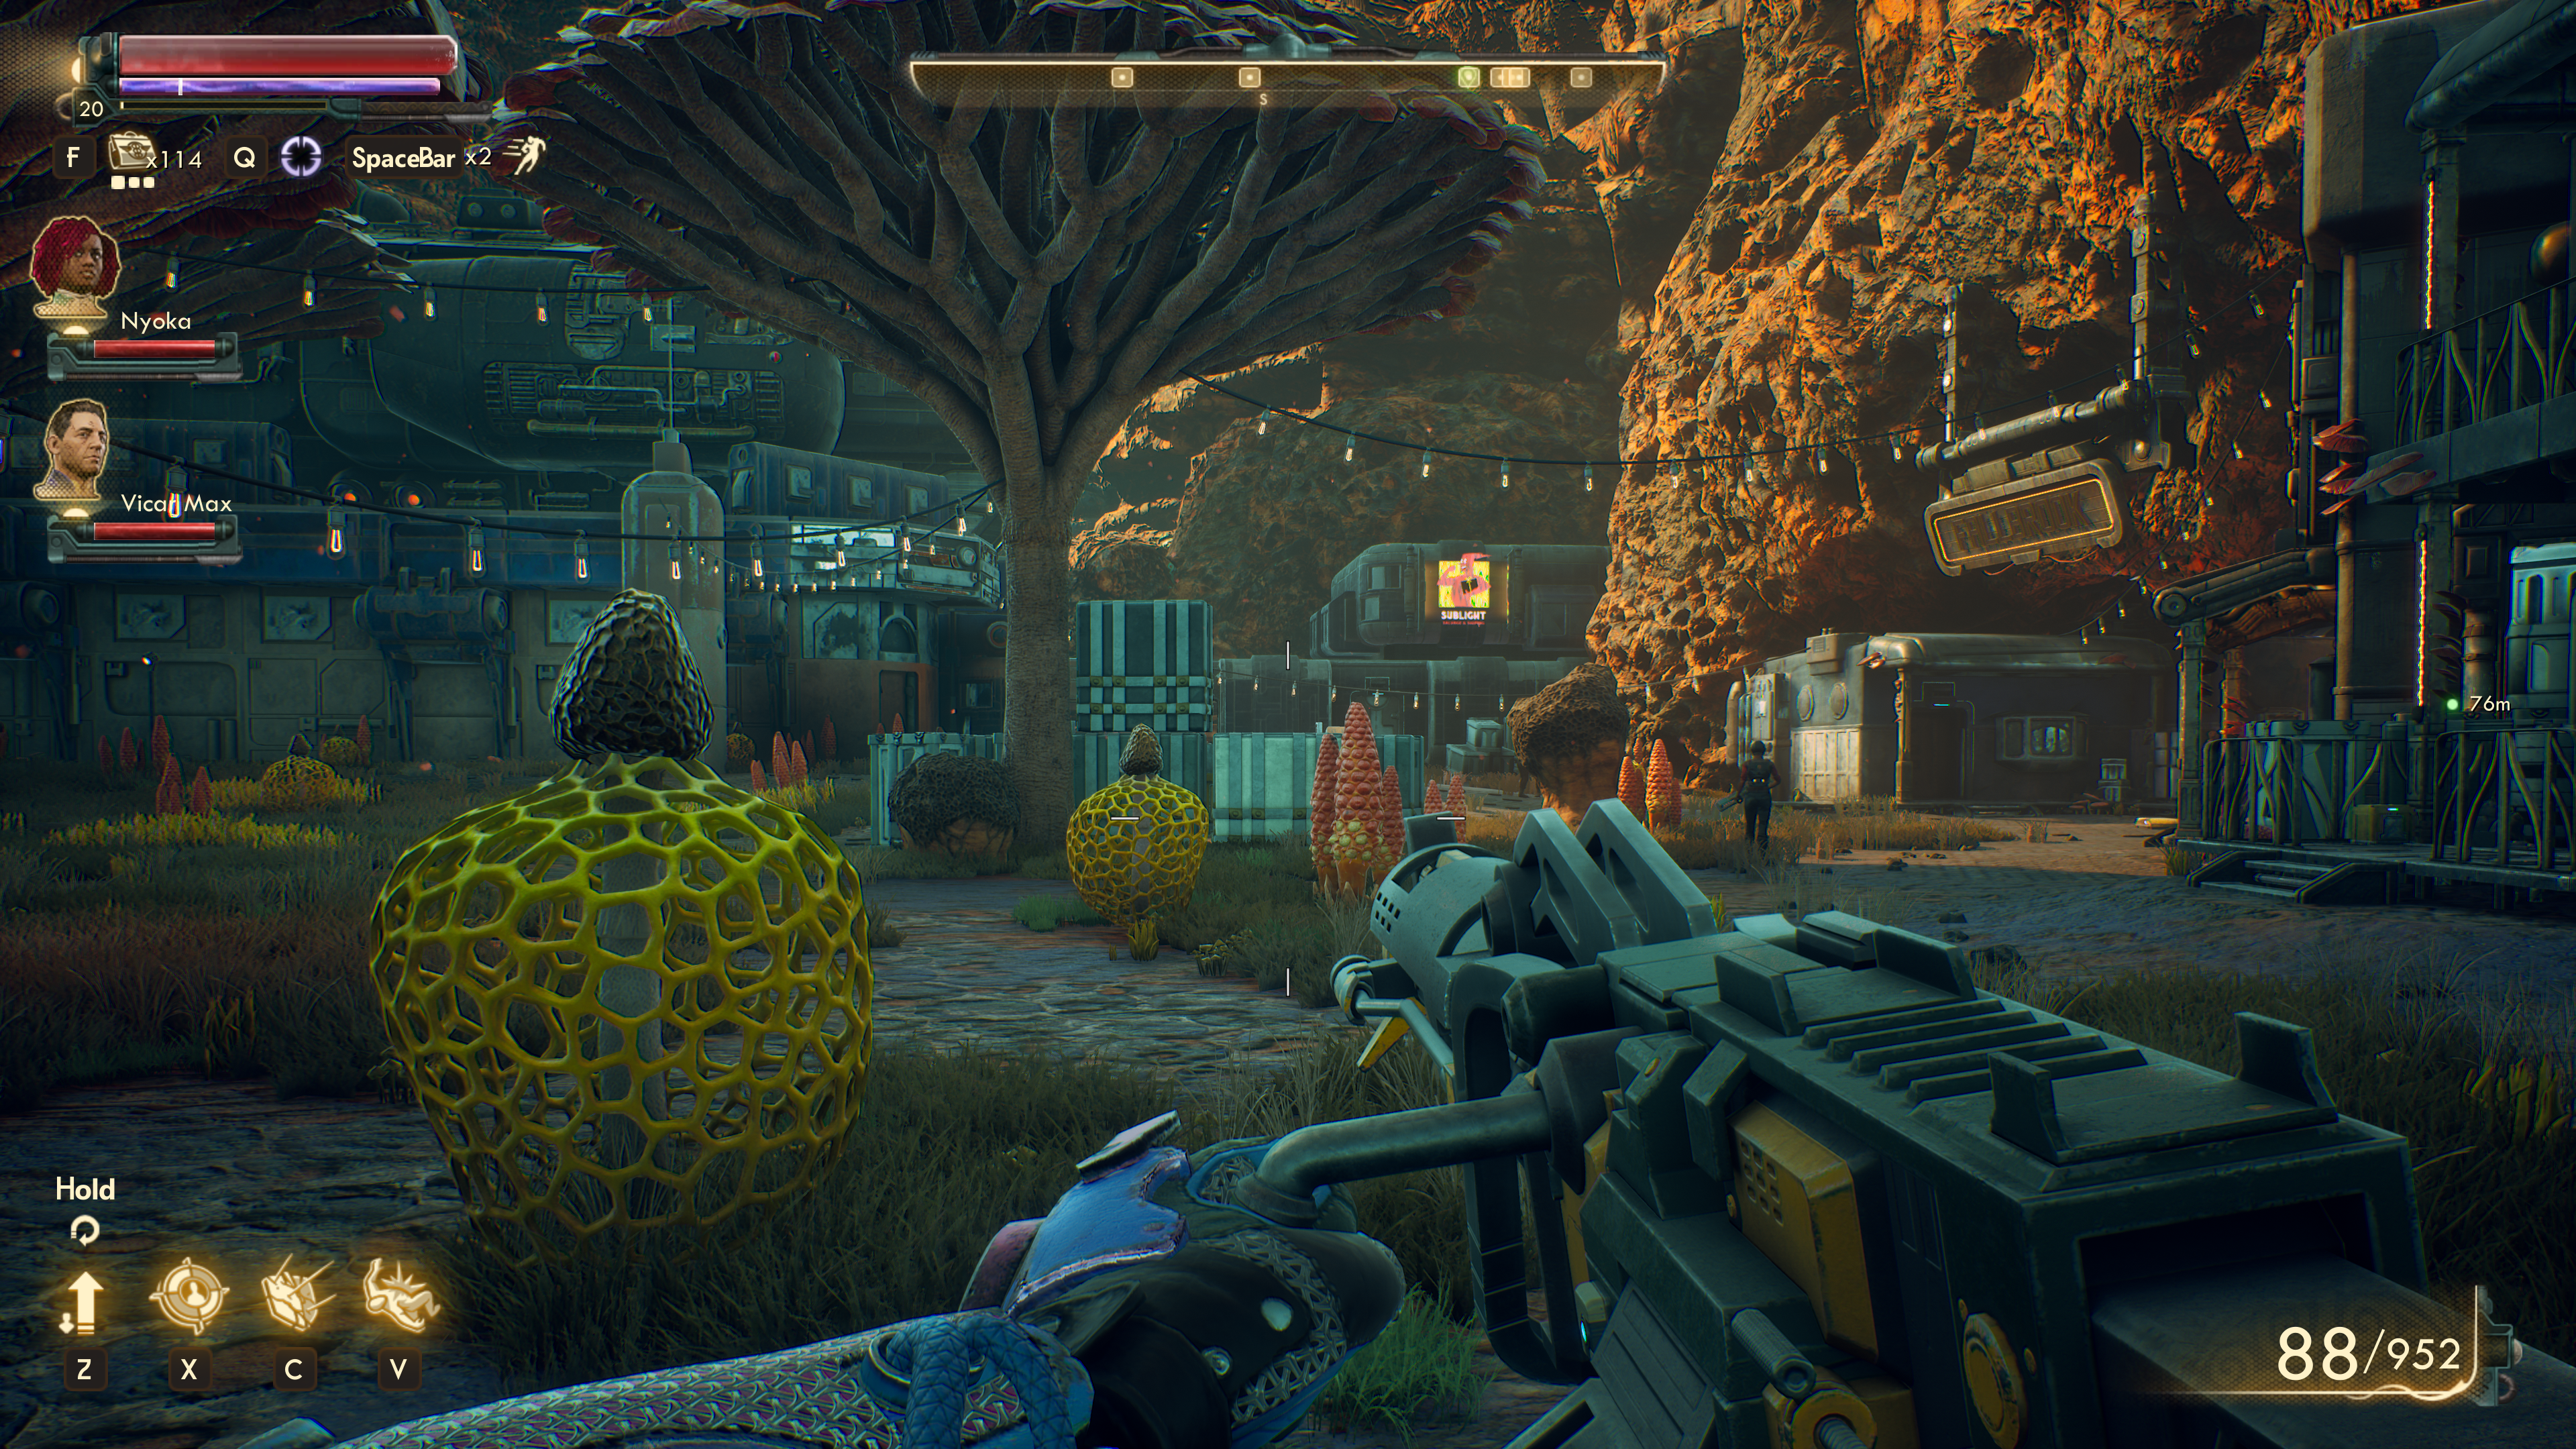
I’m sure I’ll have lots of fun with this card in the future.
Caveat lector
Installing expensive hardware like this is a tricky process. Be careful and think before you act, and don’t blame me if it doesn’t work for you.
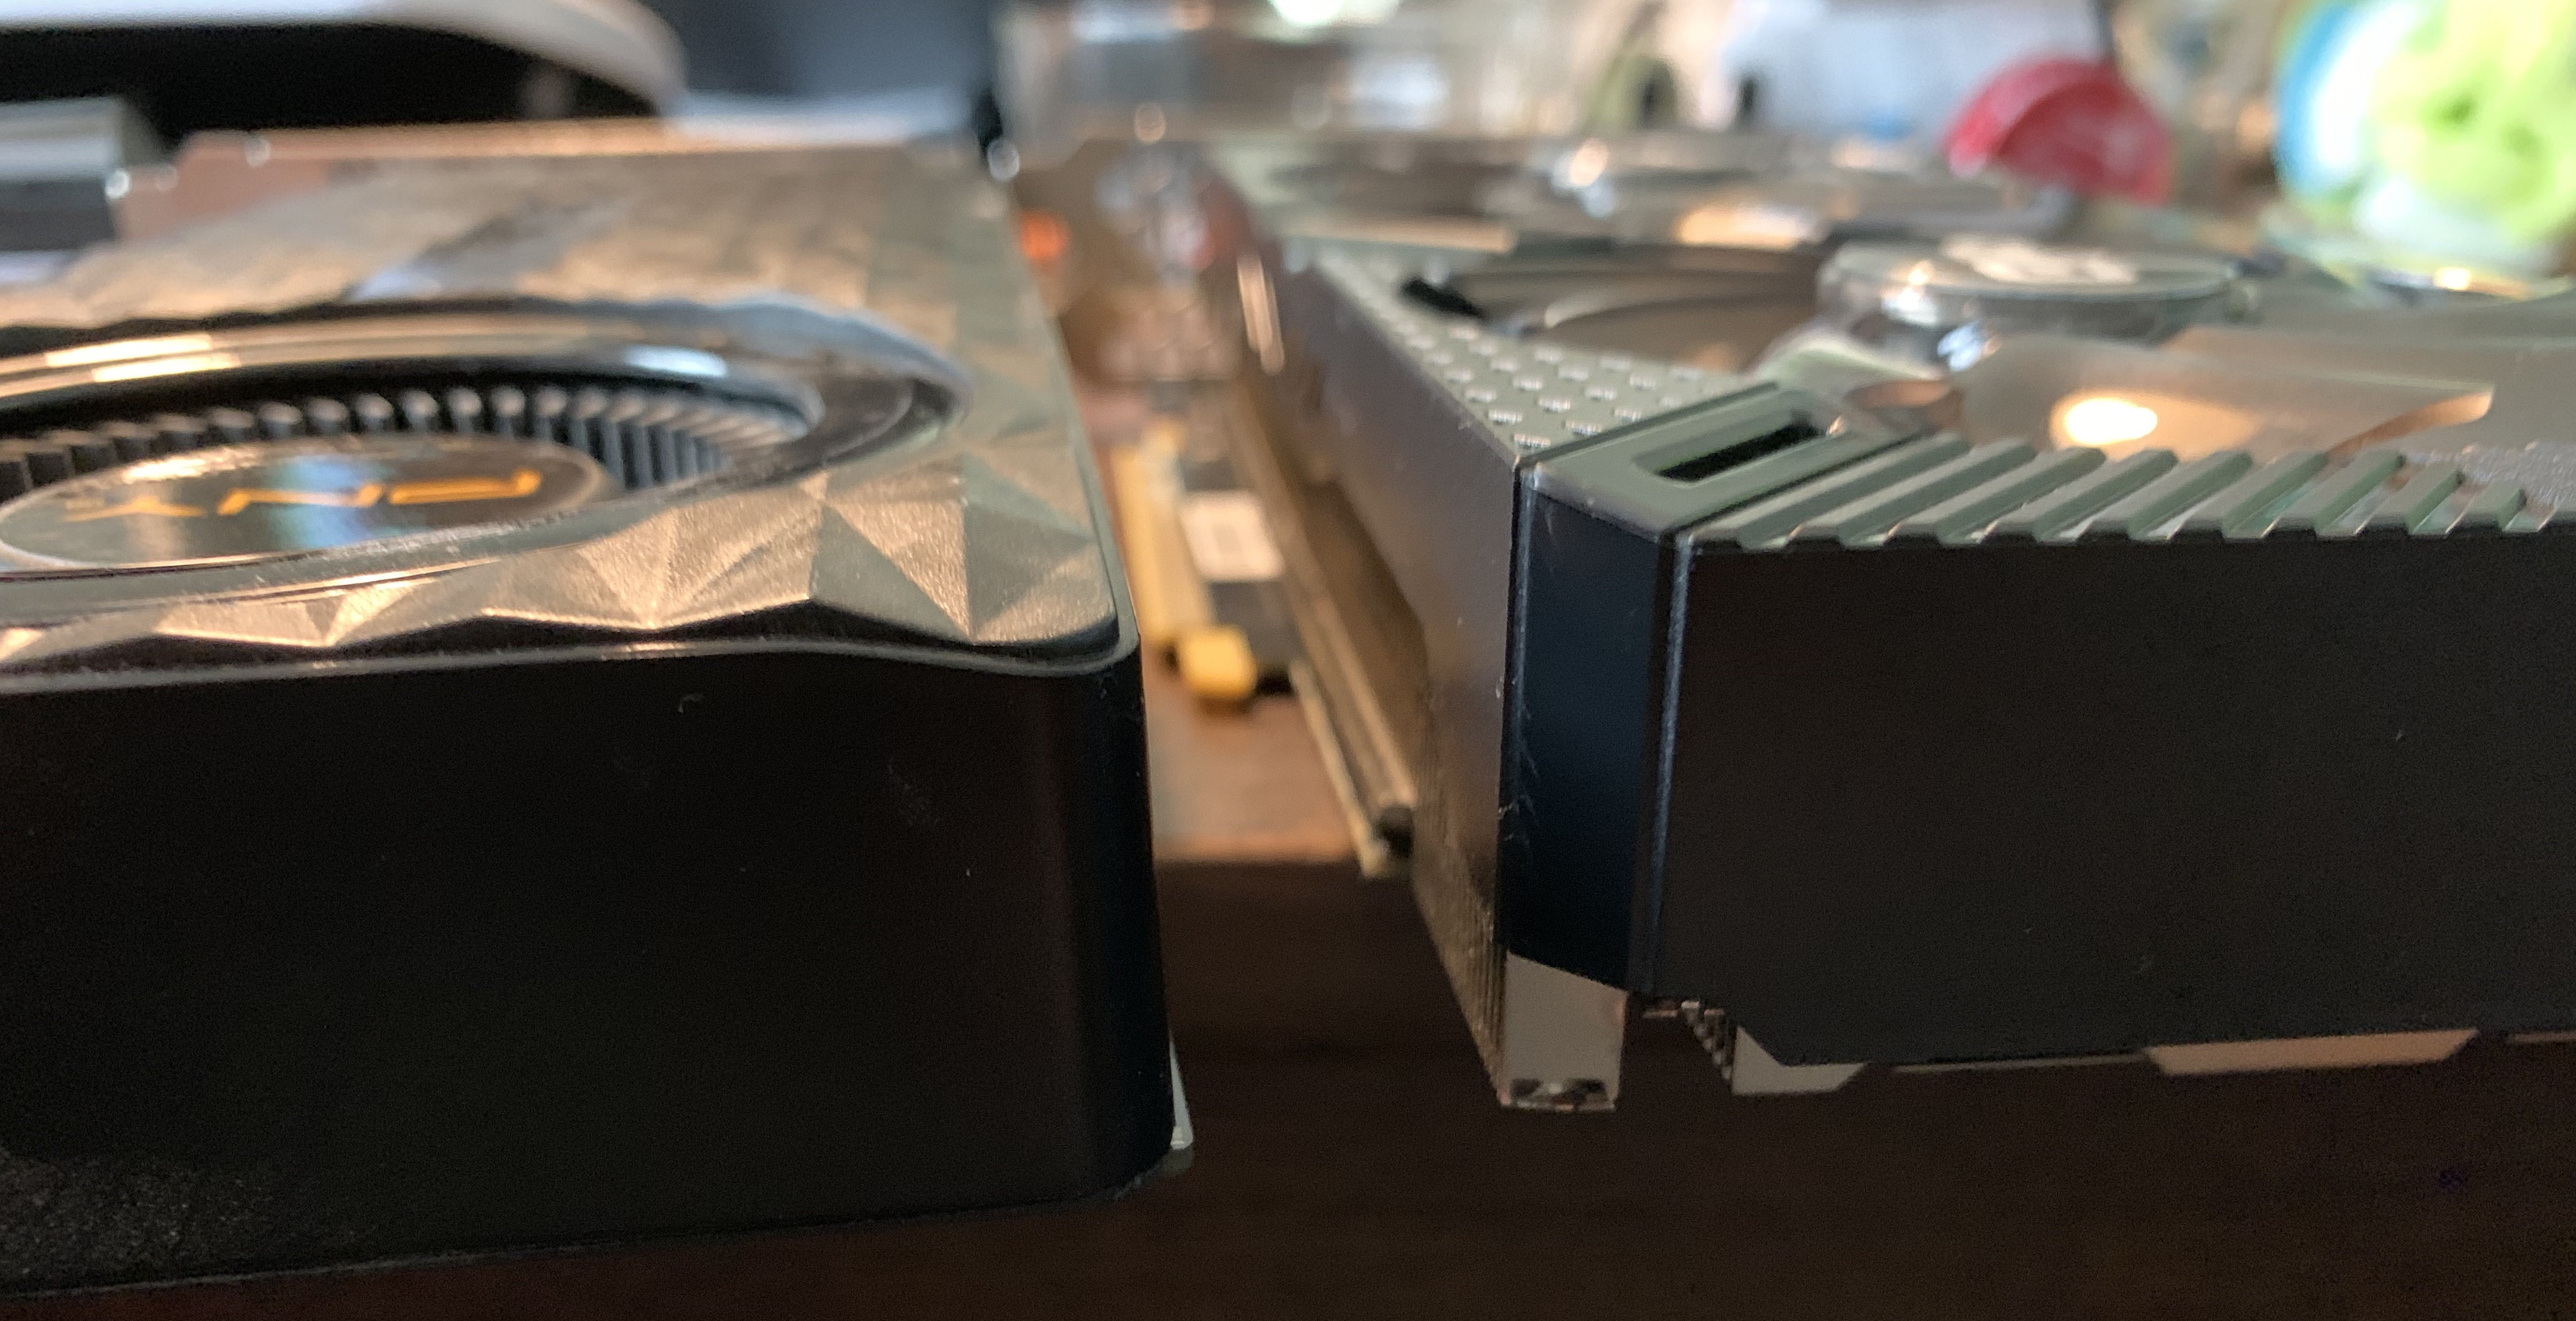
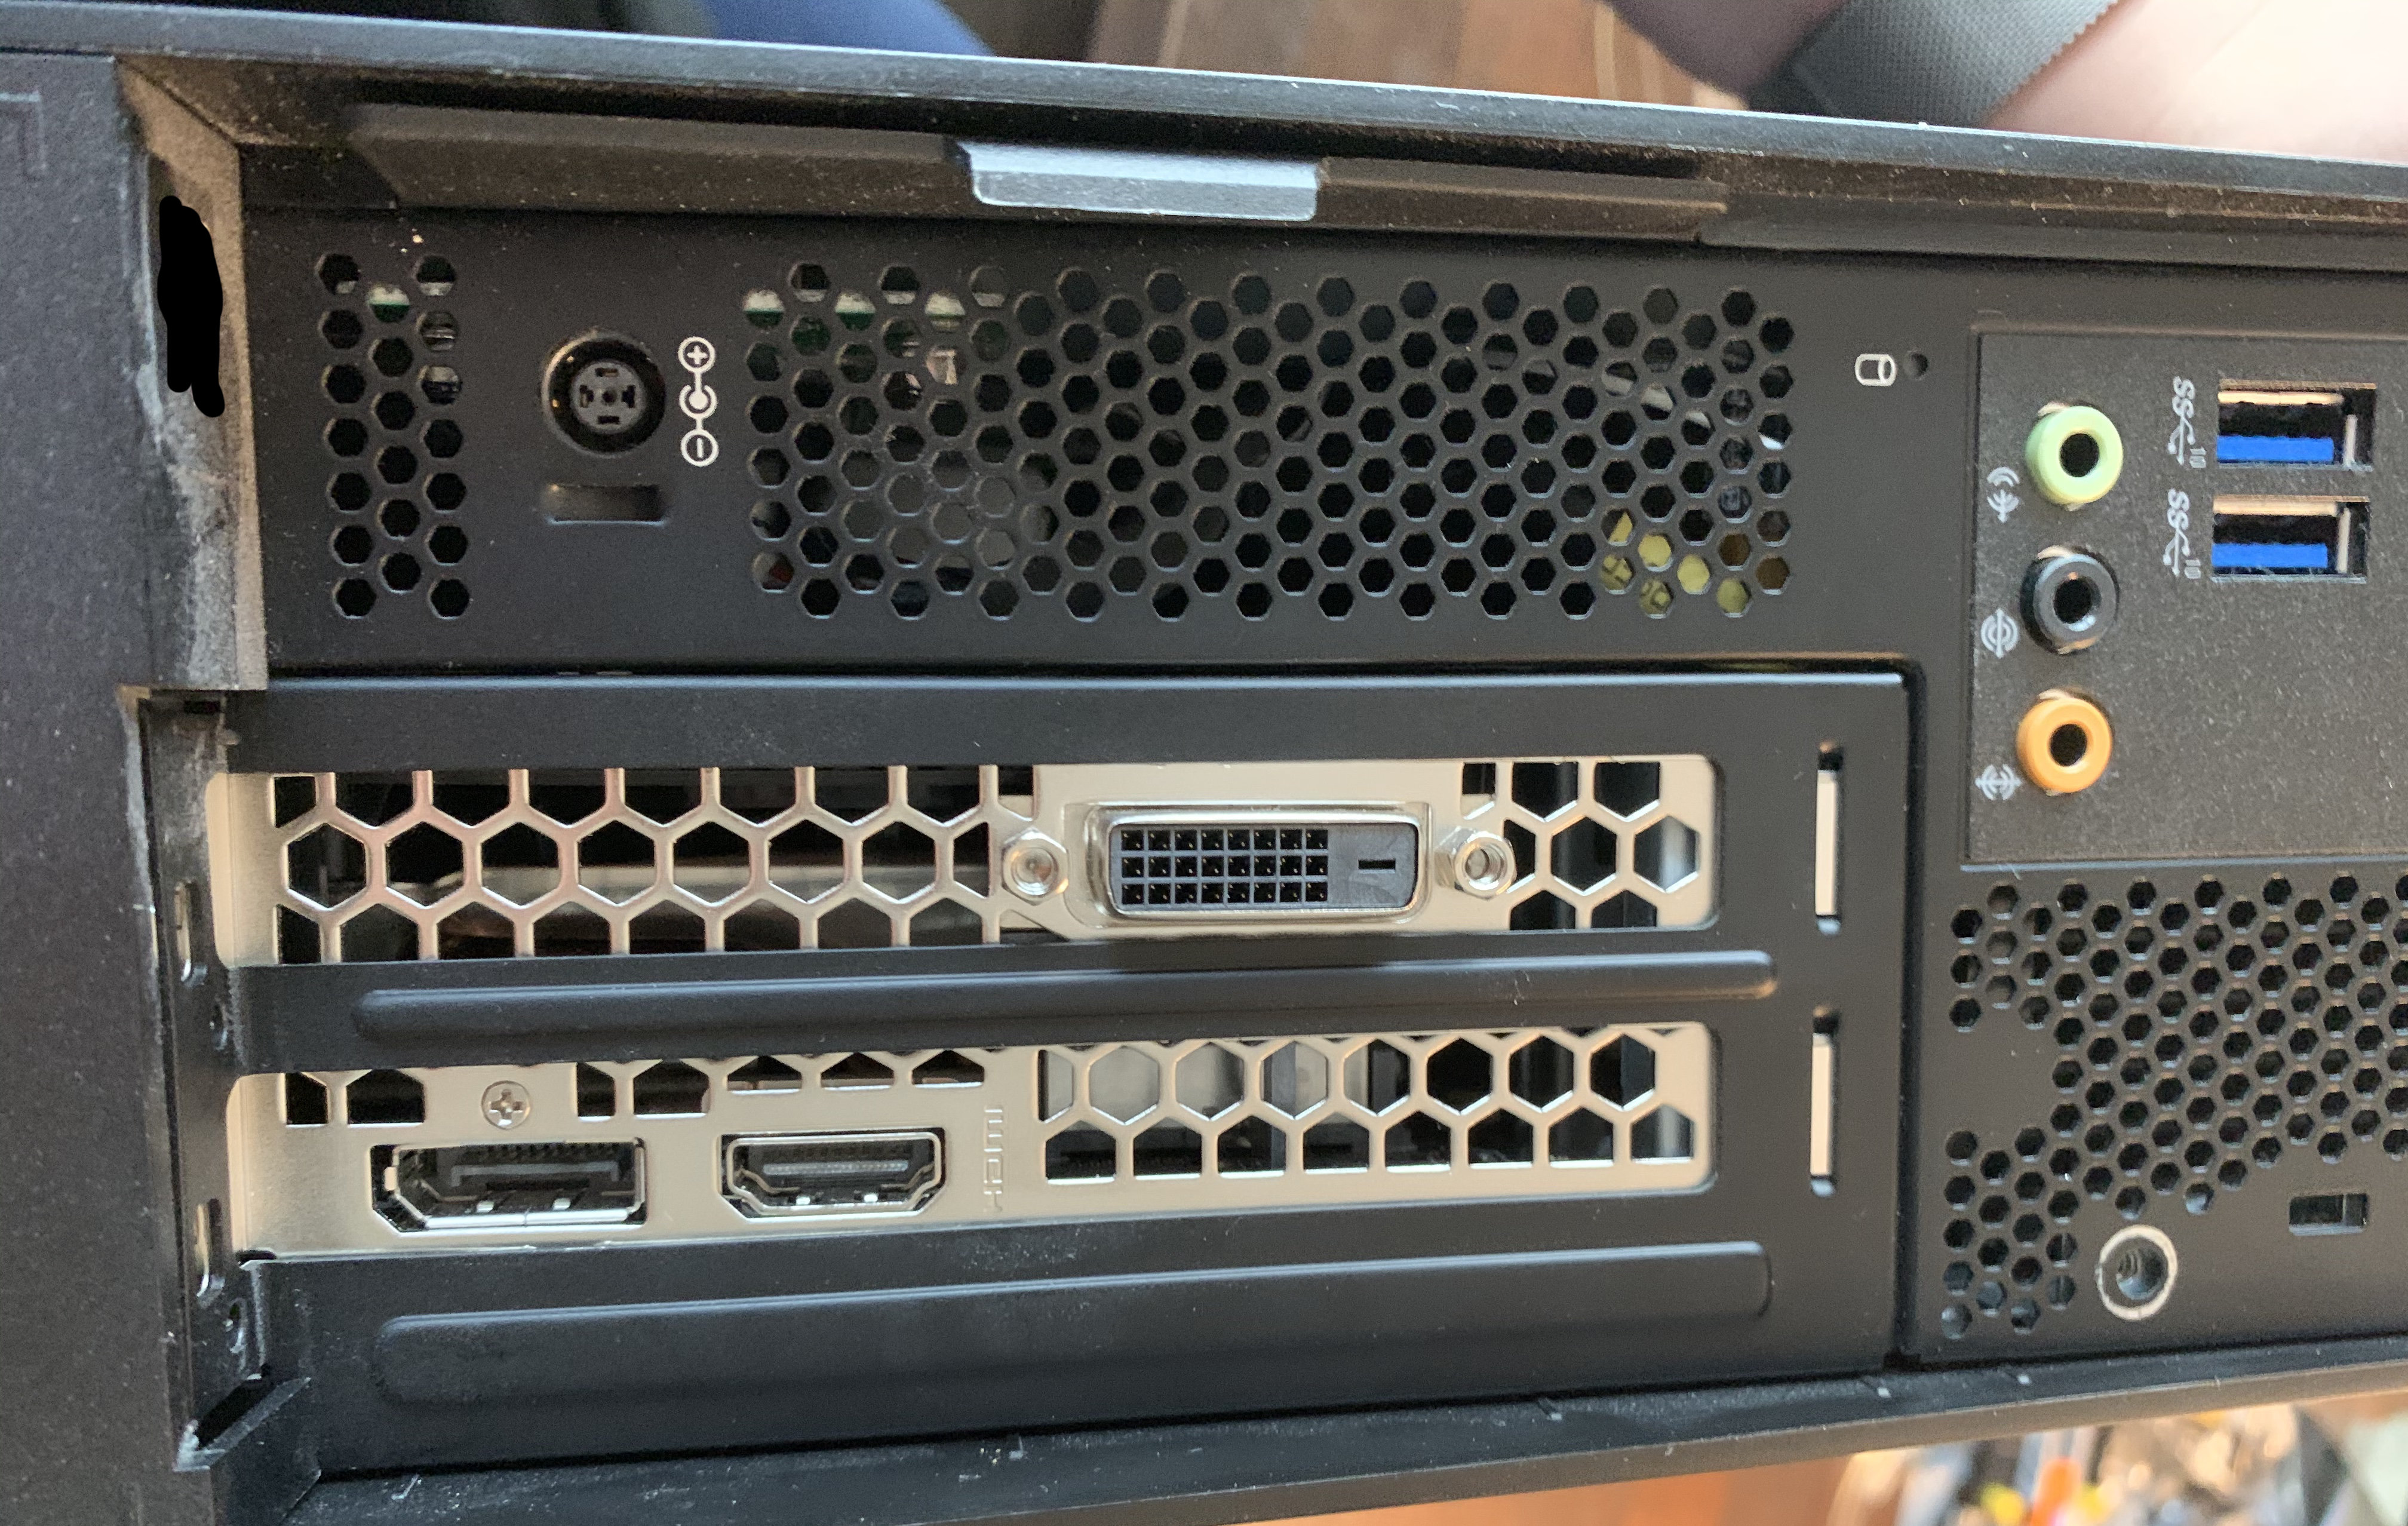
As mentioned before, it would be better to have a “blower” fan design card, if you can find one that’ll fit in the space, go for it. My new card has the dimensions 23.5 cm x 4 cm x 11.2 cm. Much thicker than 4 cm won’t work, nor will much taller than the 11.2 cm. You can fit a longer card. Removing the plastic clip holding the power cables will give you a couple of extra cm. For a full length card, you’d have to remove the fan in the main casing, which may or may not be wise.
As it is, with this somewhat inefficient cooling, the card is still able to cool but it has to run the fans at high speed to do so, producing a good deal of fan noise.